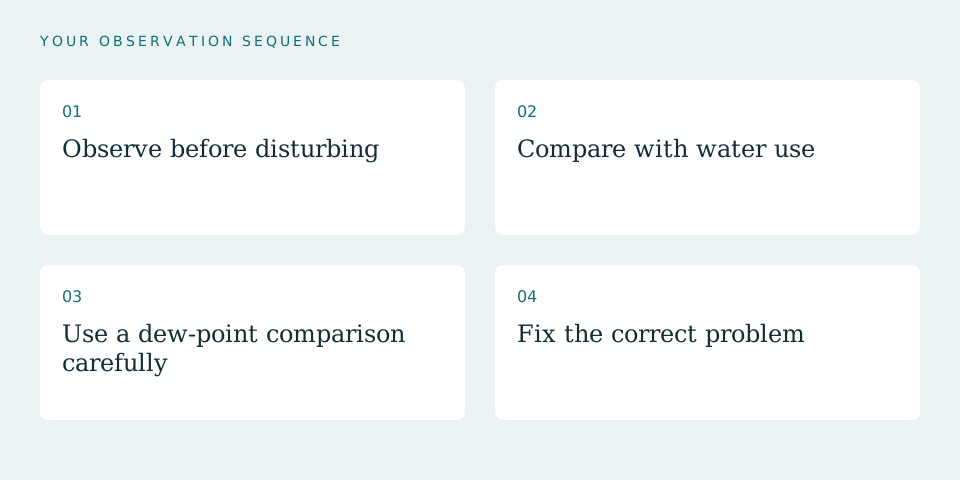
01Observe before disturbing
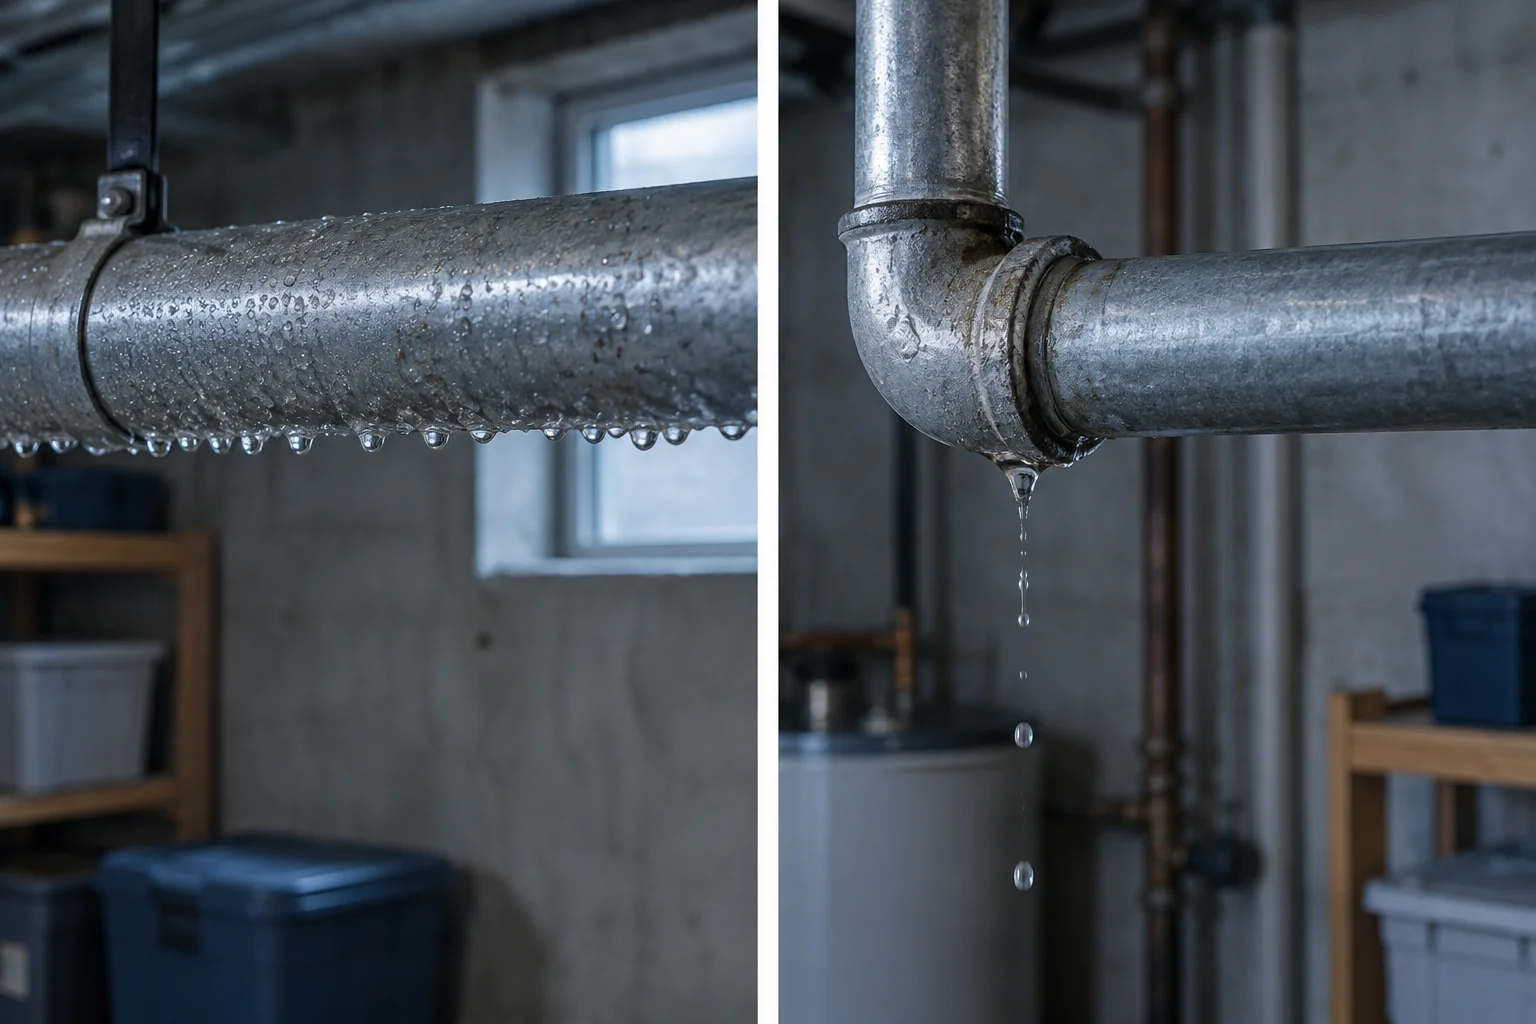
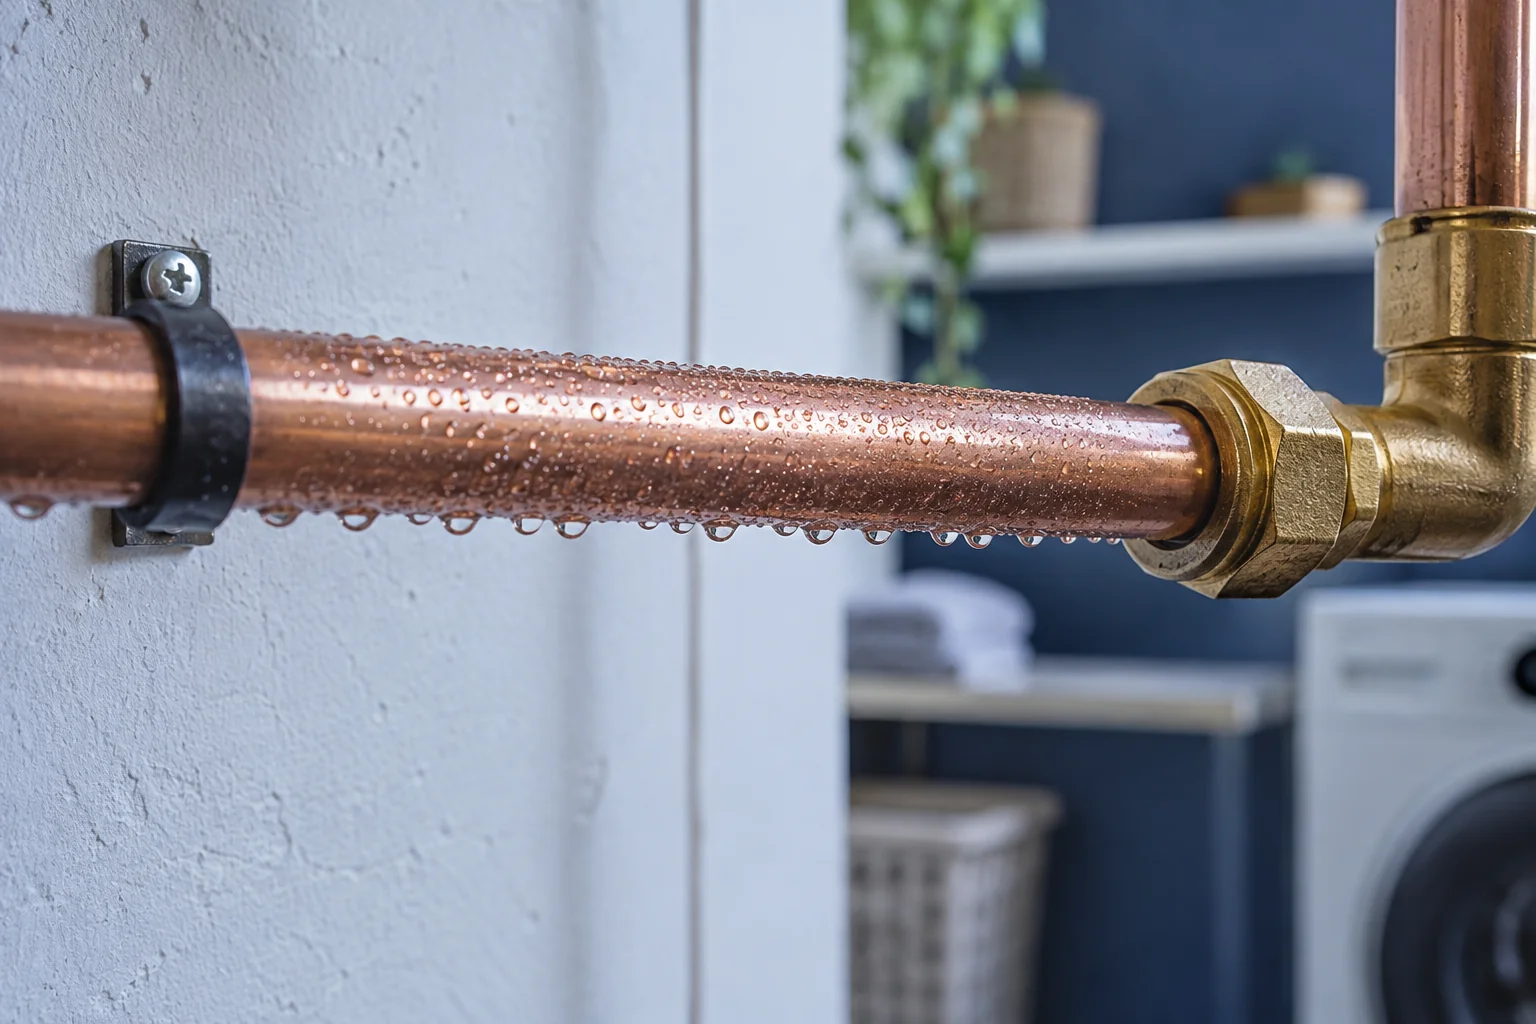
From a safe position, photograph the pipe and nearby fittings. Look for droplets spread along a length versus a localized bead at a connection. Water can run along the pipe, so the lowest drip is not necessarily the source.
Do not touch wiring, remove insulation of unknown composition or work above energized equipment. Arrange appropriate assistance if the area is unsafe.
02Compare with water use
Note whether the pipe becomes cold during fixture use and whether broad droplets develop afterward. Compare with a period when no cold water has recently flowed. Persistent localized wetness at a joint still deserves a plumbing check.
The timing may support an explanation but cannot prove a joint is sound. Small leaks can be intermittent.
Related check: Dew Point and Condensation: A Homeowner’s Practical Guide →
03Use a dew-point comparison carefully
Estimate room dew point from temperature and RH. Compare it with a safely obtained pipe-surface reading, allowing for measurement error on reflective metal. A pipe below dew point can collect condensation.
For example, at 68°F and 60% RH, dew point is about 54°F. A 48°F pipe is below that estimate. This calculation shows possibility, not the cause of every droplet.
04Fix the correct problem
A plumbing leak needs repair. Condensation control may involve reducing air moisture and suitable pipe insulation, selected and installed for the pipe and surroundings. Ask a qualified installer about vapor-resistant joints and access around fittings.
Check again during comparable water use after work is complete. Do not cover an unexplained wet joint and assume insulation has solved it.
Sources & editorial method
The linked references support the underlying principles. The observation sequence and examples are original editorial guidance, not an inspection, product test or installation specification.
AI-assisted editorial content based on the linked references. Read our methods and review limitations.