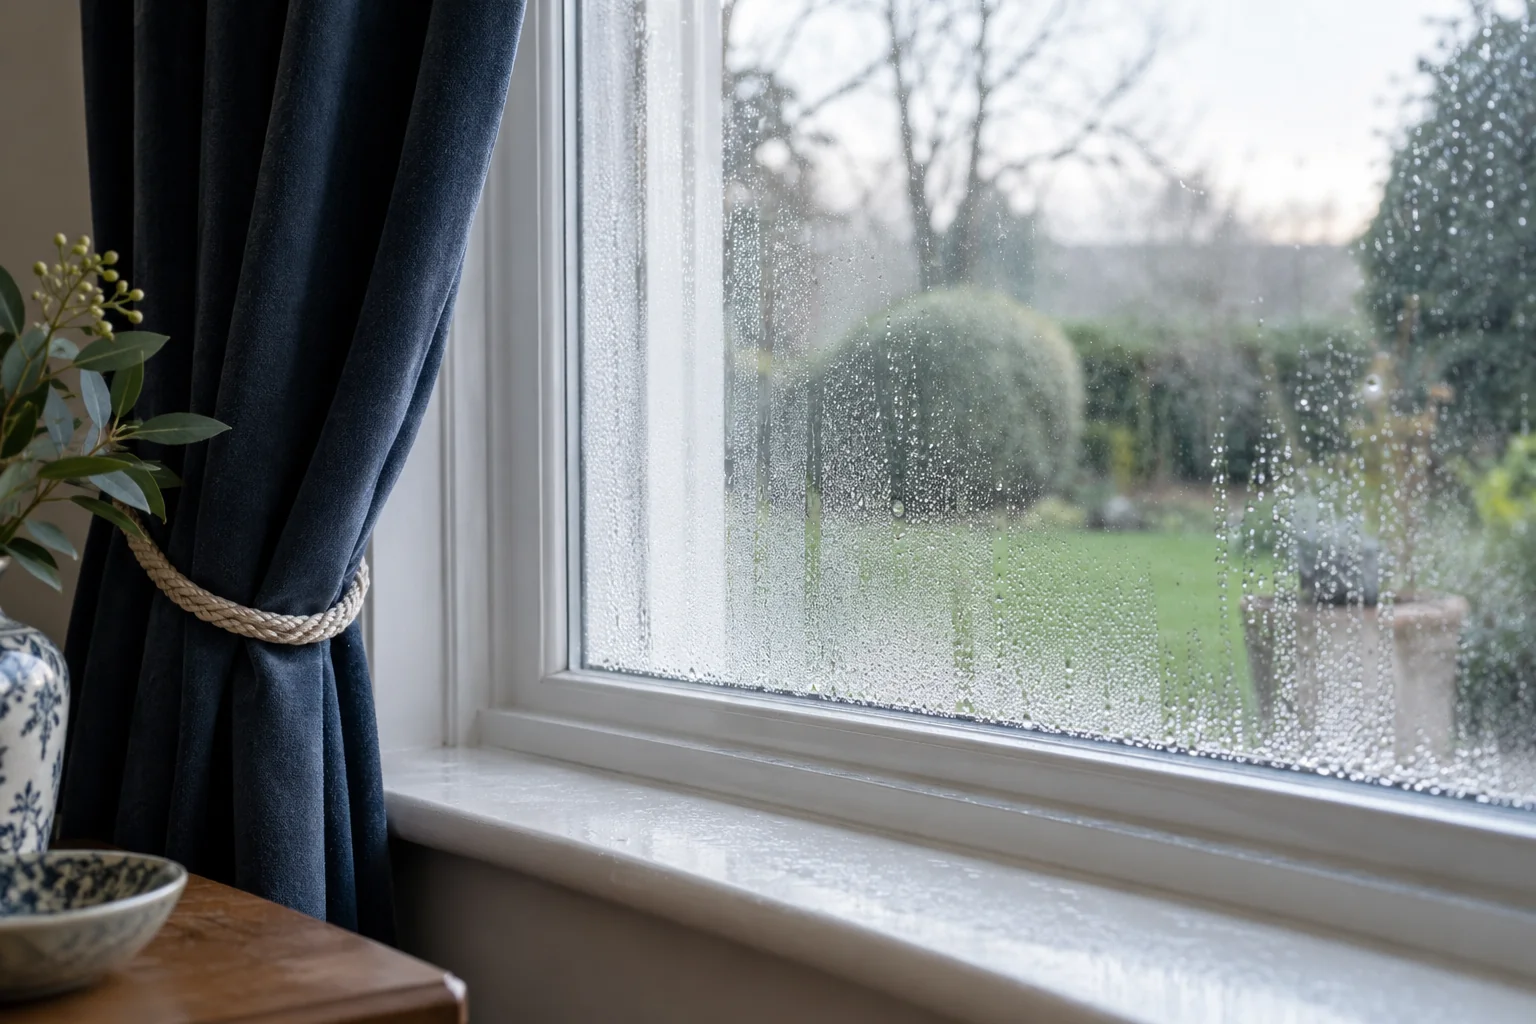
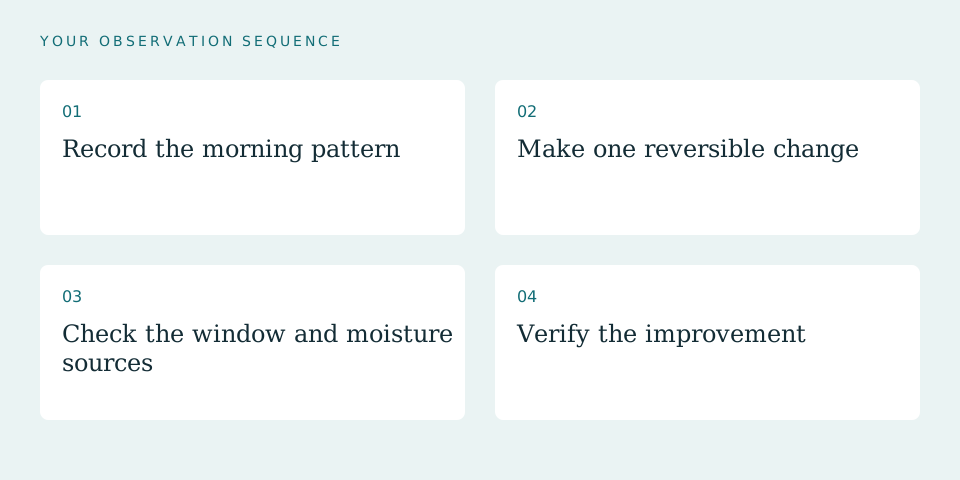
01Record the morning pattern
Before opening curtains, note where droplets appear and whether the sill or fabric is damp. Photograph the whole window and the affected corner. Avoid moving visibly affected fabric through the room without appropriate handling.
Then check the room’s temperature and RH away from heaters and direct discharge. These readings describe the room, not necessarily the small space behind the curtain.
02Make one reversible change
On a comparable night, adjust the curtain position where privacy and safety permit, without obstructing required heating or ventilation. Keep other conditions as similar as practical and compare the next morning.
This is an observation experiment, not proof of a single cause. Outdoor temperature, cooking, bathing and occupancy can change the result, so note those differences.
Related check: How to Stop Window Condensation in Winter →
03Check the window and moisture sources
If water remains concentrated around one damaged area or follows rain, inspect for leakage as well as condensation. If multiple cold windows are wet, review indoor moisture sources and use of existing exhaust ventilation.
Do not place a portable heater against curtains or cover a heating outlet to force a result. Follow equipment and fabric clearances.
04Verify the improvement
Dry accessible finishes appropriately and watch for recurring damage. A successful curtain adjustment should reduce repeated wetting under comparable conditions, not merely hide it during the day.
Persistent wetness, damaged finishes or uncertain glazing condition warrants a qualified assessment. A dehumidifier may help with air moisture, but it cannot repair a window defect.
Sources & editorial method
The linked references support the underlying principles. The observation sequence and examples are original editorial guidance, not an inspection, product test or installation specification.
AI-assisted editorial content based on the linked references. Read our methods and review limitations.