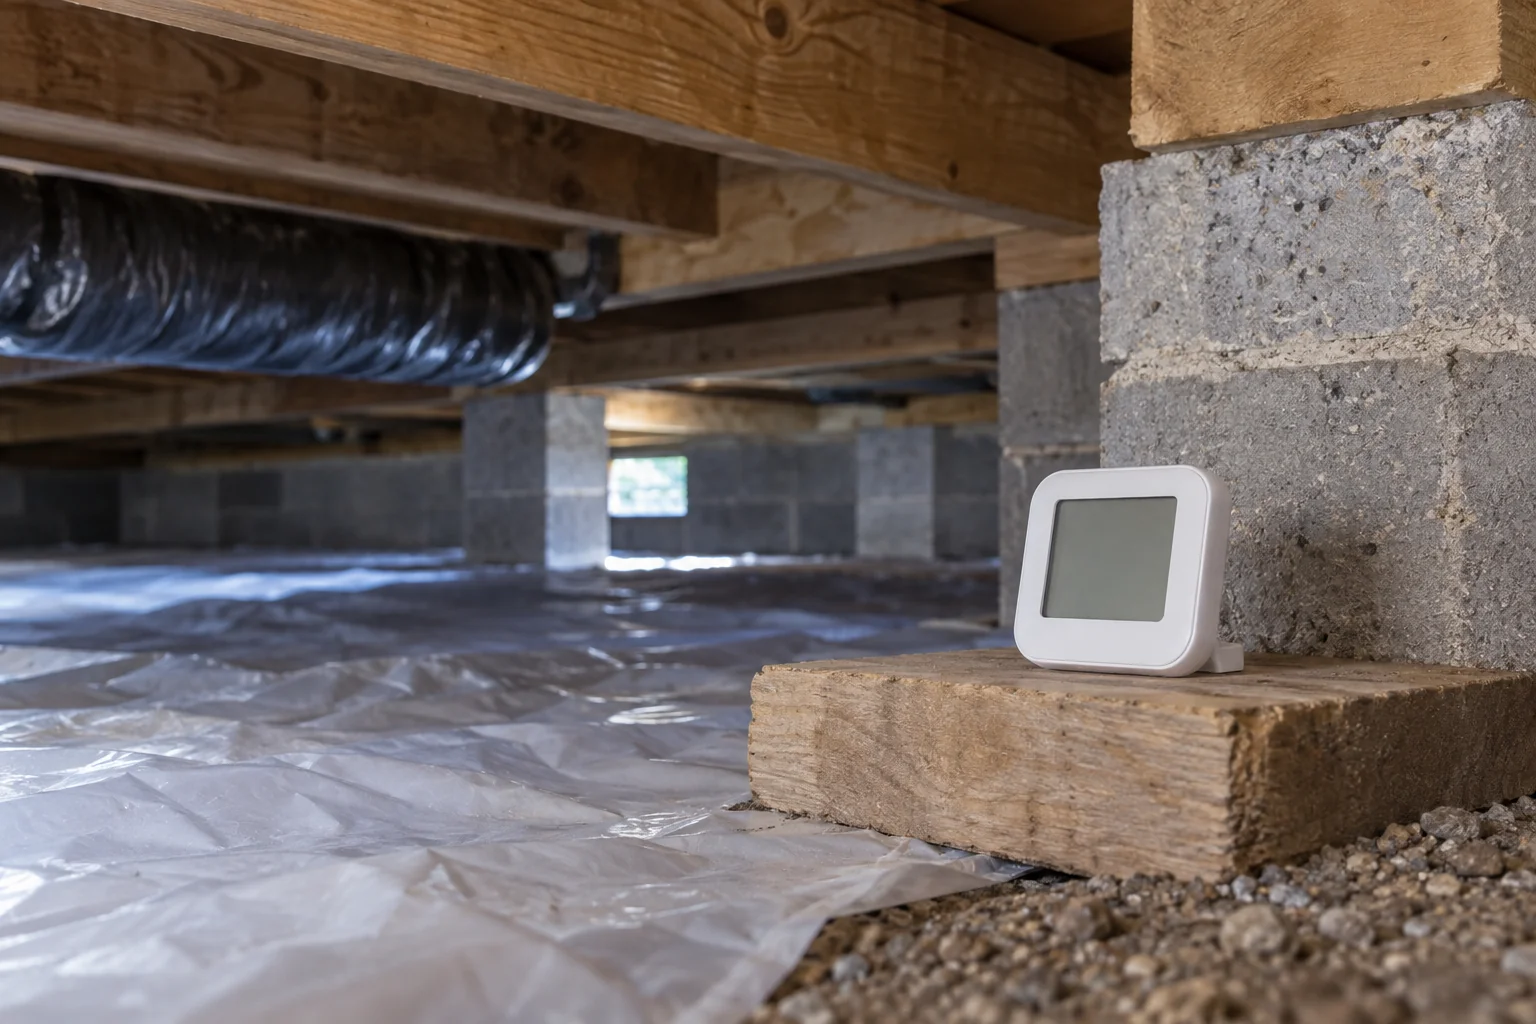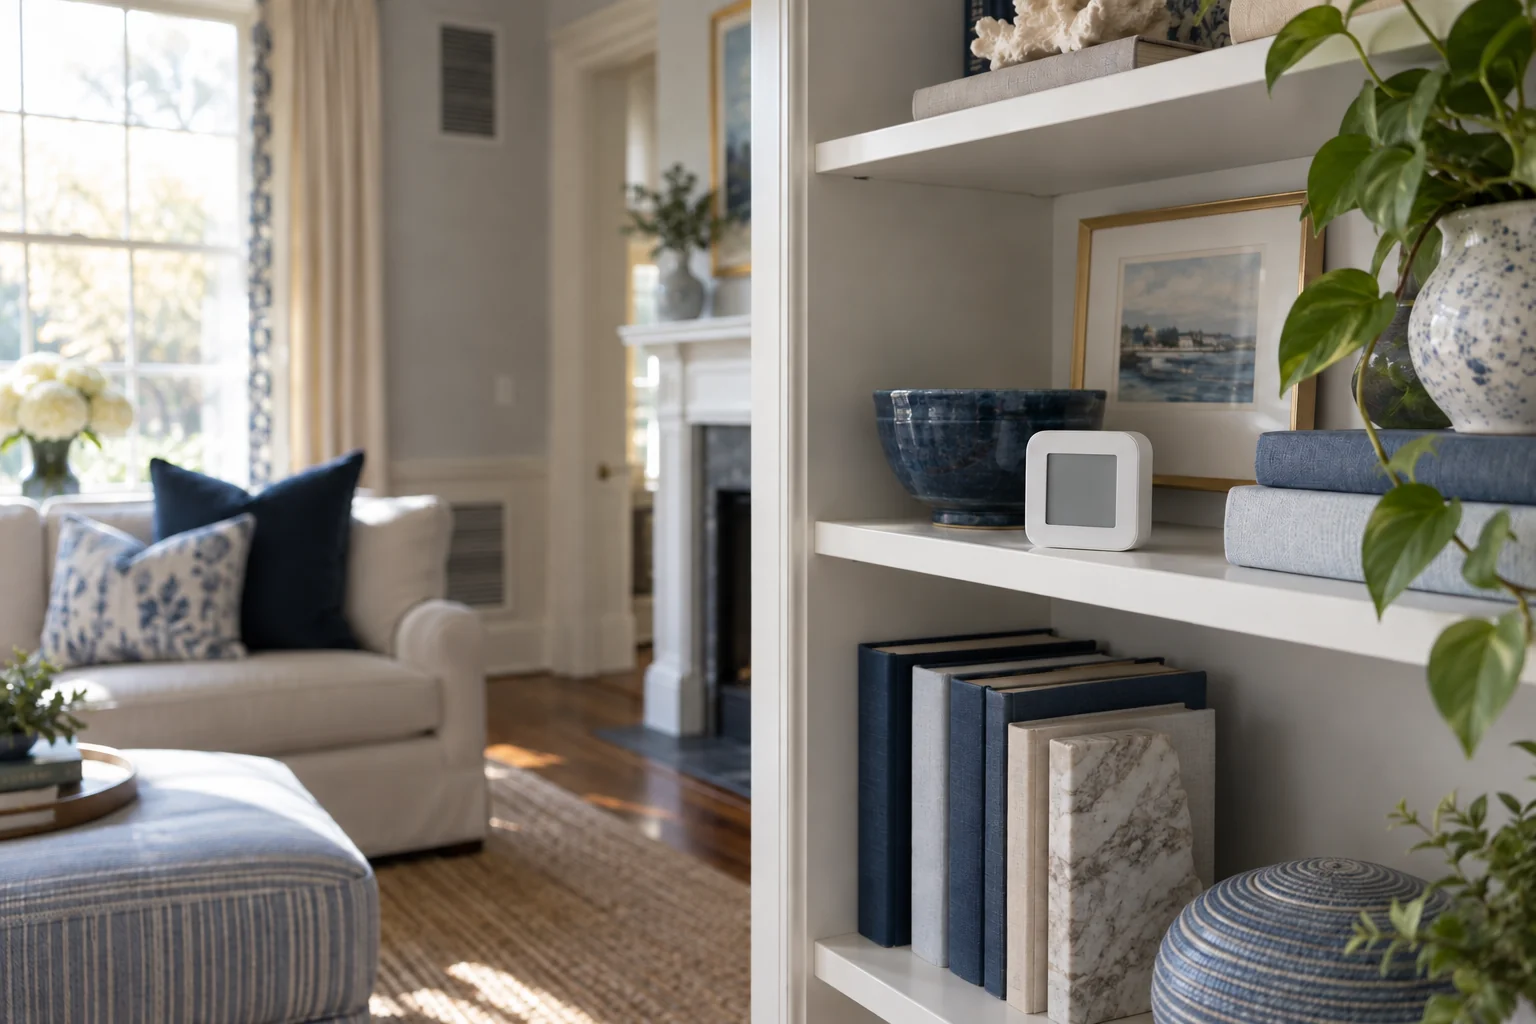
01Choose a representative room location
For general monitoring, use an ordinary occupied part of the room away from direct sunlight, supply air and dehumidifier discharge. Follow the instrument’s mounting and operating instructions. Avoid resting it on a wet surface or placing it where it may get splashed.
Label the location in your record. A consistent position makes a week of data easier to compare.
02Add a second location for a specific problem
If a window, storage area or wall corner is the concern, compare a nearby air reading with the general room reading. Do not assume the sensor measures the surface or the material behind it.
If using one sensor in sequence, allow it to settle after each move and record the time. Changing room conditions can otherwise look like a location difference.
Related check: Why Your Dehumidifier and Hygrometer Show Different Humidity →
03Record temperature alongside RH
Relative humidity responds to temperature. A cooler location can show a higher RH percentage without a new water source. Recording both values helps distinguish a temperature pattern from a possible increase in moisture.
The dew-point calculator can assist comparison, within the accuracy of the input instruments. Do not report more precision than your measurements support.
04Check maintenance and data quality
Replace batteries as needed and review gaps or frozen timestamps in connected devices. Keep sensors clean according to instructions; do not spray them with cleaner. Compare side by side when two devices disagree.
Use the resulting trend to guide an inspection. A normal air reading does not rule out localized wet materials or concealed damage.
At a glance: choose your next check
| Purpose | Placement approach |
|---|---|
| General room trend | Consistent location away from direct sun and air discharge. |
| Investigate one damp zone | Second named location near the concern, without wetting the sensor. |
| Compare two instruments | Side by side in stable air, allowing the specified settling time. |
A humidity sensor measures nearby air, not hidden material moisture.
Sources & editorial method
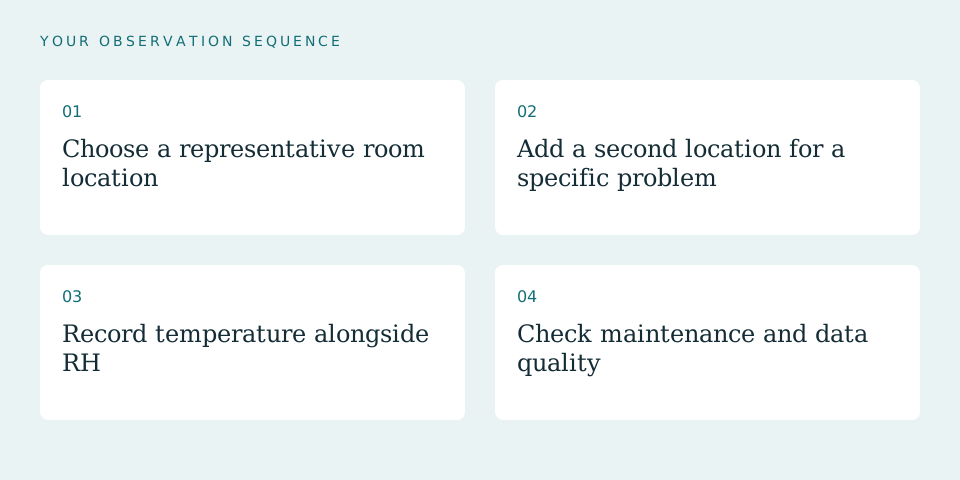
The linked references support the underlying principles. The observation sequence and examples are original editorial guidance, not an inspection, product test or installation specification.
AI-assisted editorial content based on the linked references. Read our methods and review limitations.