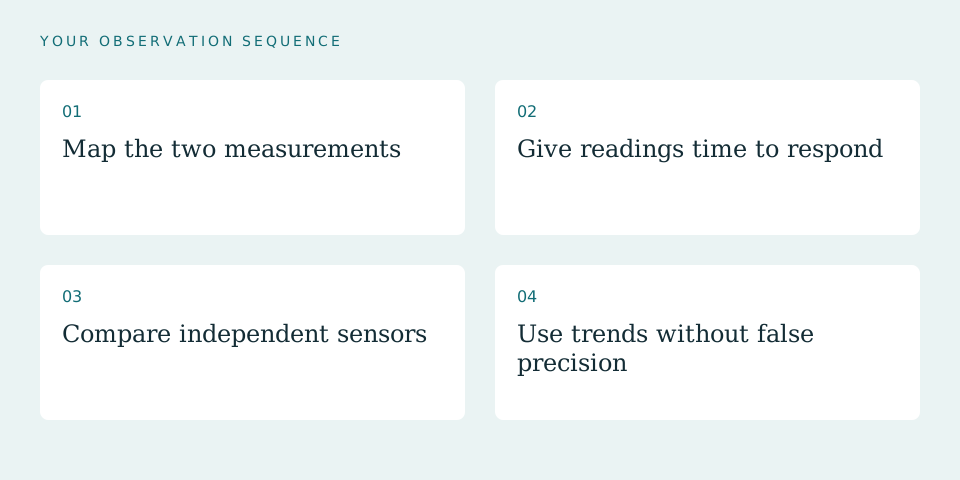
01Map the two measurements
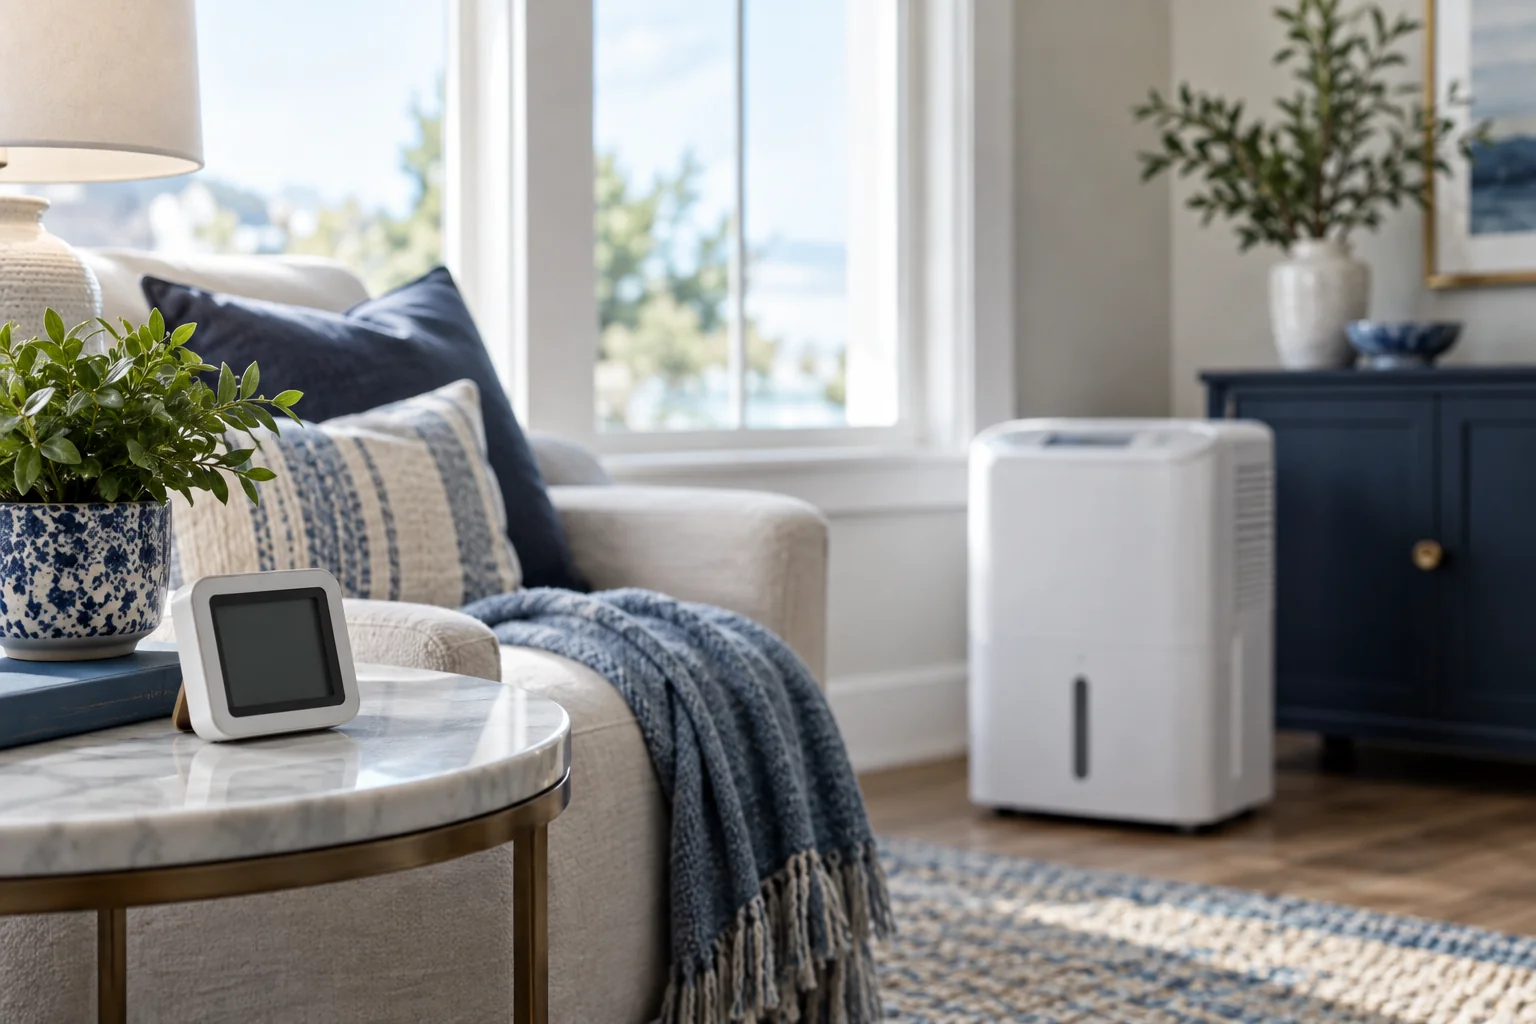
The appliance sensor is built into the unit; the separate hygrometer samples air around its own housing. Warm discharge, a cold wall or a nearby door can make those locations different. Record both positions and temperatures.
Do not press a room sensor against a grille to force agreement. Keep all airflow clearances and follow the sensor instructions.
02Give readings time to respond
After relocating a hygrometer, allow it to settle for the period recommended by its manufacturer. A newly moved device can lag behind the room. Compare several readings rather than one moment.
Check whether the appliance display shows measured RH or the target setpoint. Some displays change behavior during adjustment, so consult the manual.
Related check: Where to Place a Hygrometer for Useful Home Readings →
03Compare independent sensors
If available, place two room sensors together in a stable ordinary location away from direct discharge. Note the difference and compare their stated accuracy and operating range. Similar readings are reassuring but do not constitute traceable calibration.
Avoid homemade calibration claims unless following a validated method for the instrument. A third inexpensive sensor is not automatically the reference standard.
04Use trends without false precision
Choose a consistent representative location and track direction over time. Do not chase a one-point difference with repeated setpoint changes. If discrepancies are large or erratic, seek manufacturer advice or use an appropriately verified instrument.
Visible water and damaged material require investigation regardless of which display has the preferred number. Air RH alone cannot certify a dry building assembly.
Sources & editorial method
The linked references support the underlying principles. The observation sequence and examples are original editorial guidance, not an inspection, product test or installation specification.
AI-assisted editorial content based on the linked references. Read our methods and review limitations.