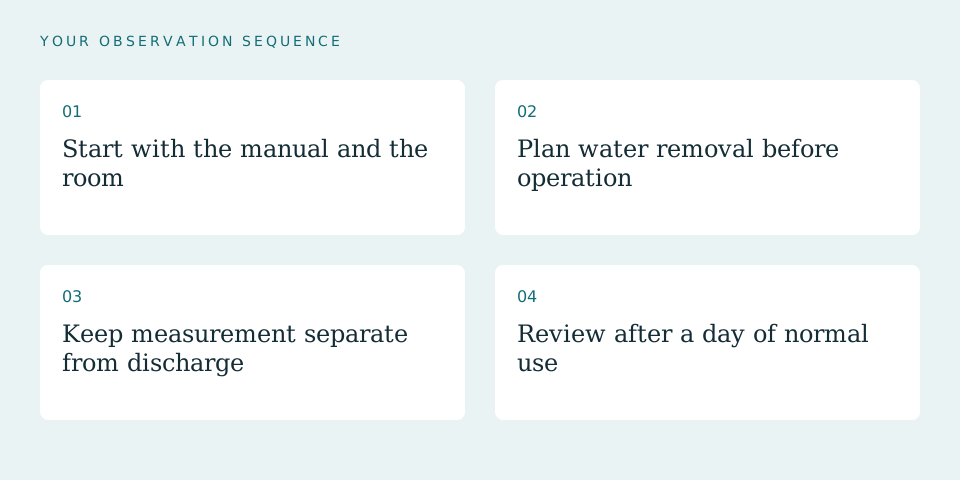
01Start with the manual and the room
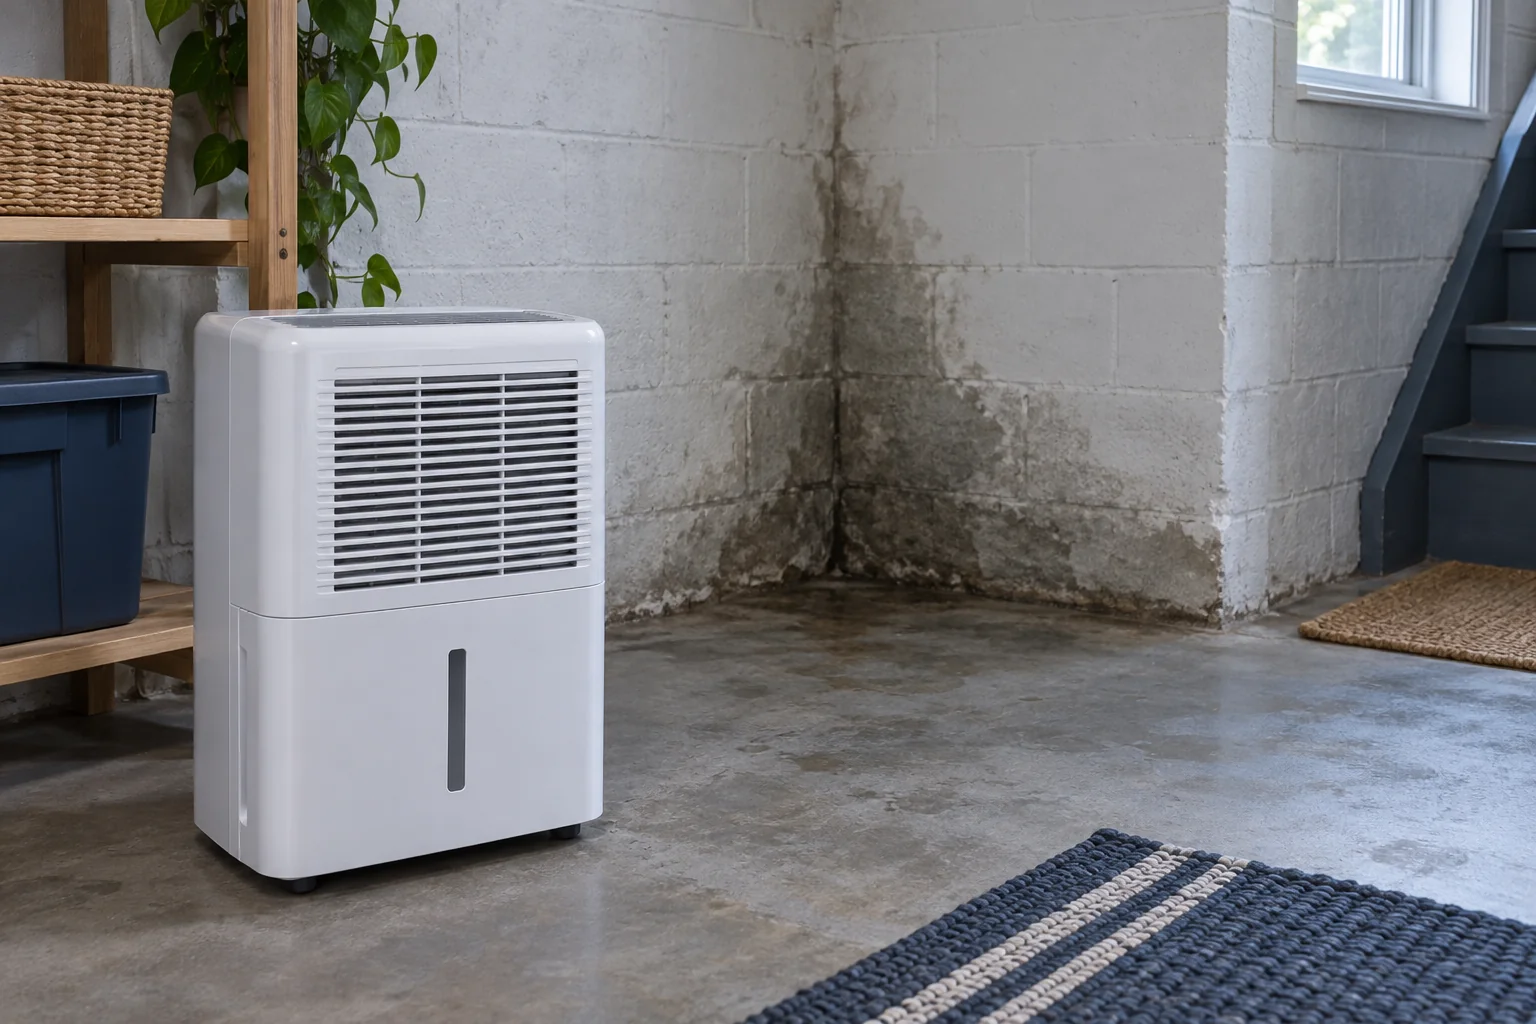
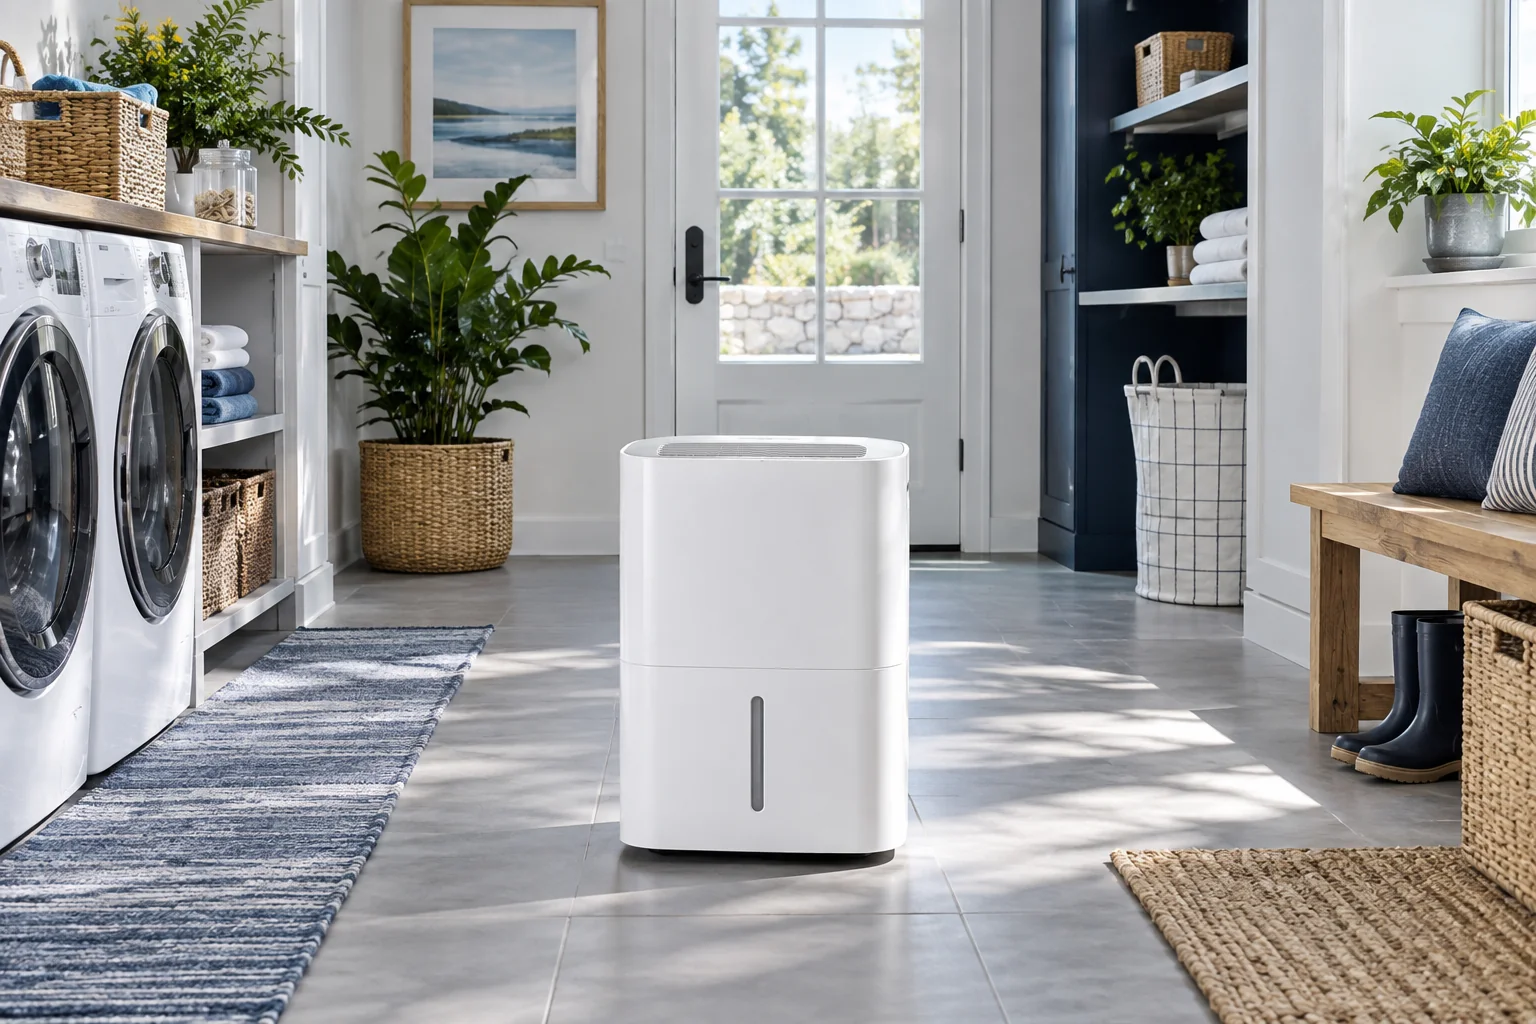
Find the inlet, outlet, clearance distances, operating-temperature range and electrical requirements. These differ by model; a universal distance cannot replace the manual. Use a stable location that does not obstruct an exit or normal access.
Sketch doors and partitions. A unit in one room may not adequately treat another closed room, even if the total floor area seems appropriate.
02Plan water removal before operation
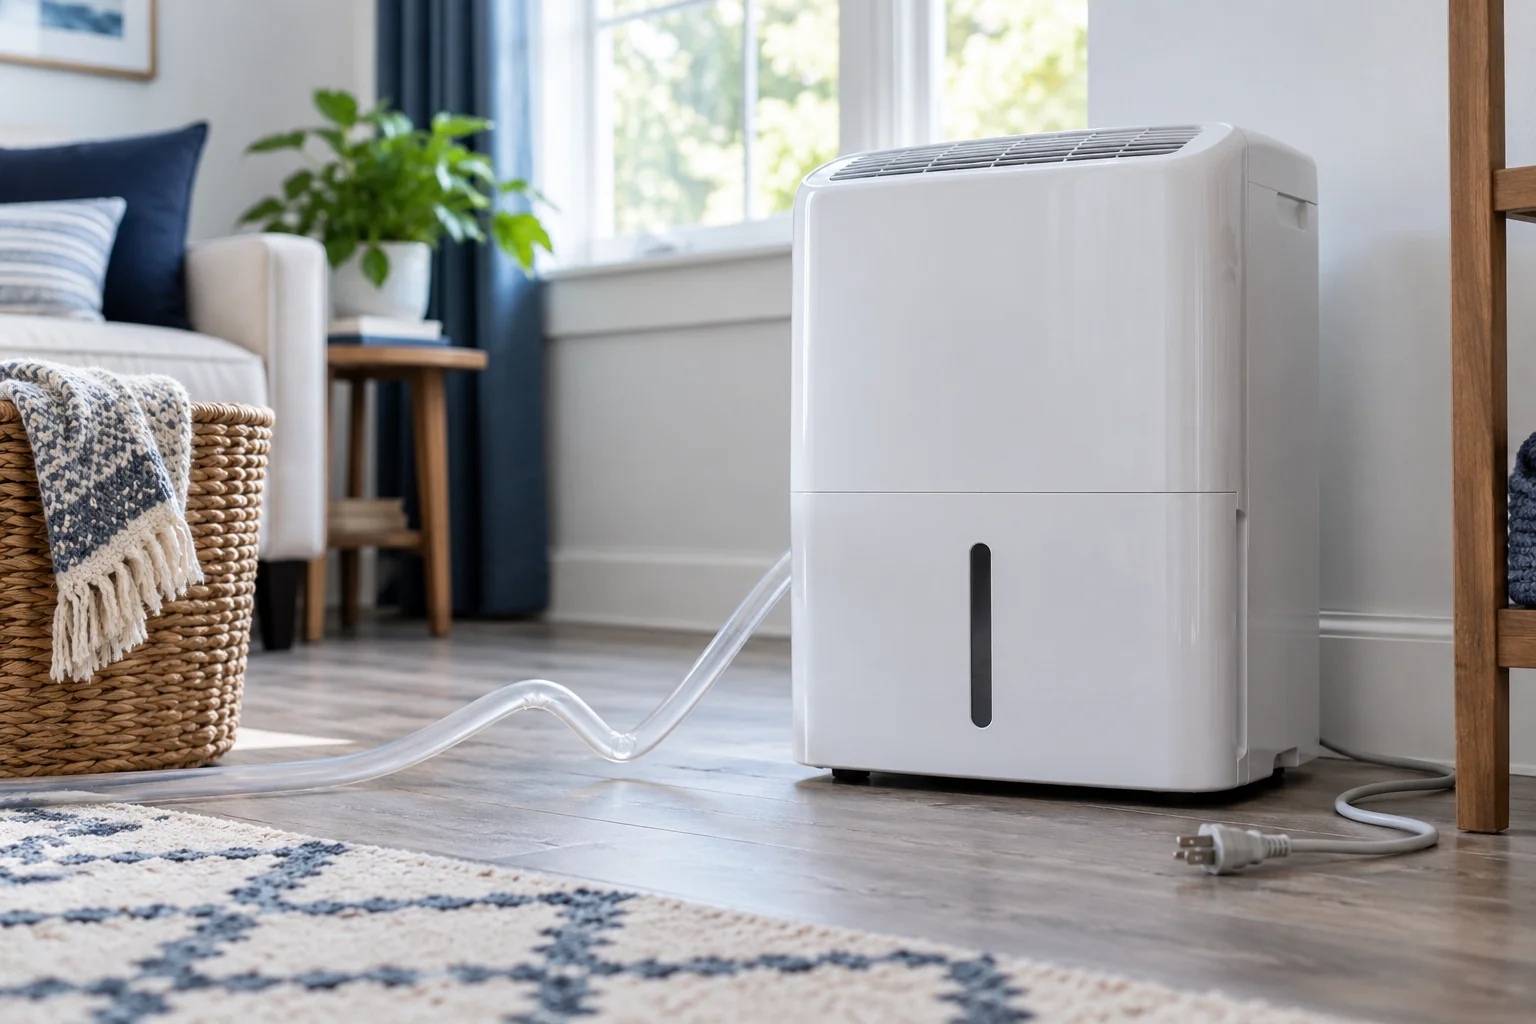
If using a bucket, leave enough room to remove it without tipping the appliance. For a gravity hose, follow the required outlet height and slope; for a pump, follow its lift and routing limits. Use only an appropriate discharge location.
Do not route hoses across walkways or rely on an extension cord where the instructions prohibit it. Arrange a suitable outlet or drainage solution through qualified help when required.
Related check: Dehumidifier Drain Hose Not Working: A Practical Checklist →
03Keep measurement separate from discharge
Use a separate room sensor away from the warm dry outlet. The appliance’s onboard sensor and a room sensor need not agree exactly because they sample different locations. Record their positions when comparing them.
Avoid setting the machine directly beside the only sensor and concluding the entire room has improved. Check a distant representative area too.
04Review after a day of normal use
Check for collected water, hose leakage, blocked airflow and the room trend. Note any closed doors or weather changes. Change one placement variable at a time so the result is interpretable.
If a zone stays wet despite improved air readings, investigate its local water source or surface temperature rather than repeatedly moving the appliance.
At a glance: choose your next check
| Constraint | Plan before switching on |
|---|---|
| Airflow | Model-specific intake and outlet clearances. |
| Water removal | Accessible bucket or correctly routed approved drain. |
| Measurement | Room sensor away from the appliance discharge. |
Follow the individual manual and applicable electrical and drainage requirements.
Sources & editorial method
The linked references support the underlying principles. The observation sequence and examples are original editorial guidance, not an inspection, product test or installation specification.
AI-assisted editorial content based on the linked references. Read our methods and review limitations.