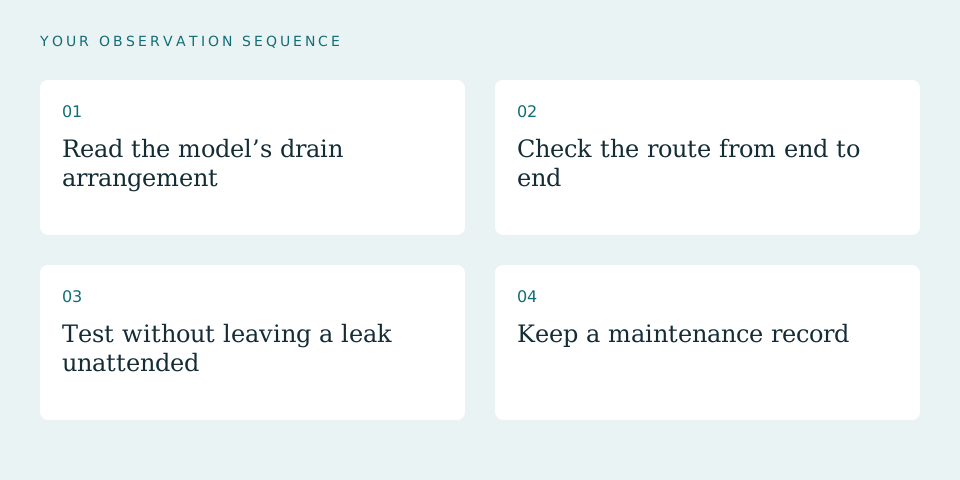
01Read the model’s drain arrangement
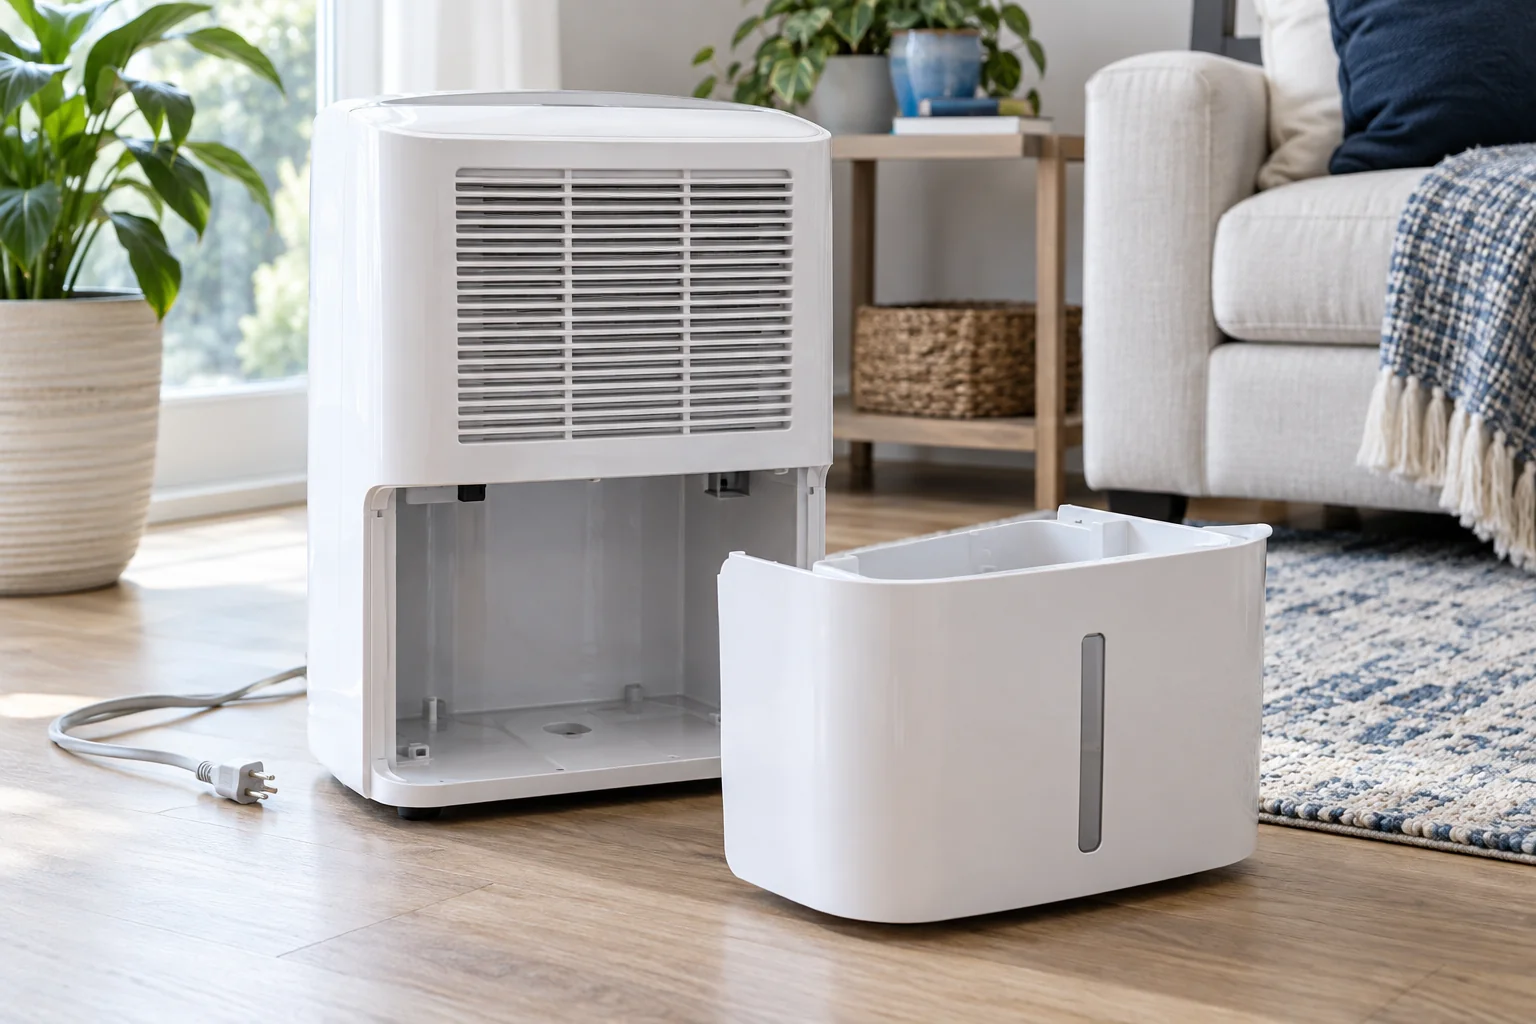
Locate the correct port and required adapter in the instructions. Some appliances have separate gravity and pump connections. Confirm any pump setting and whether the bucket must remain installed.
Turn off and disconnect the appliance as instructed before adjusting connections. Do not reach into a wet electrical area or attempt to repair energized equipment.
02Check the route from end to end
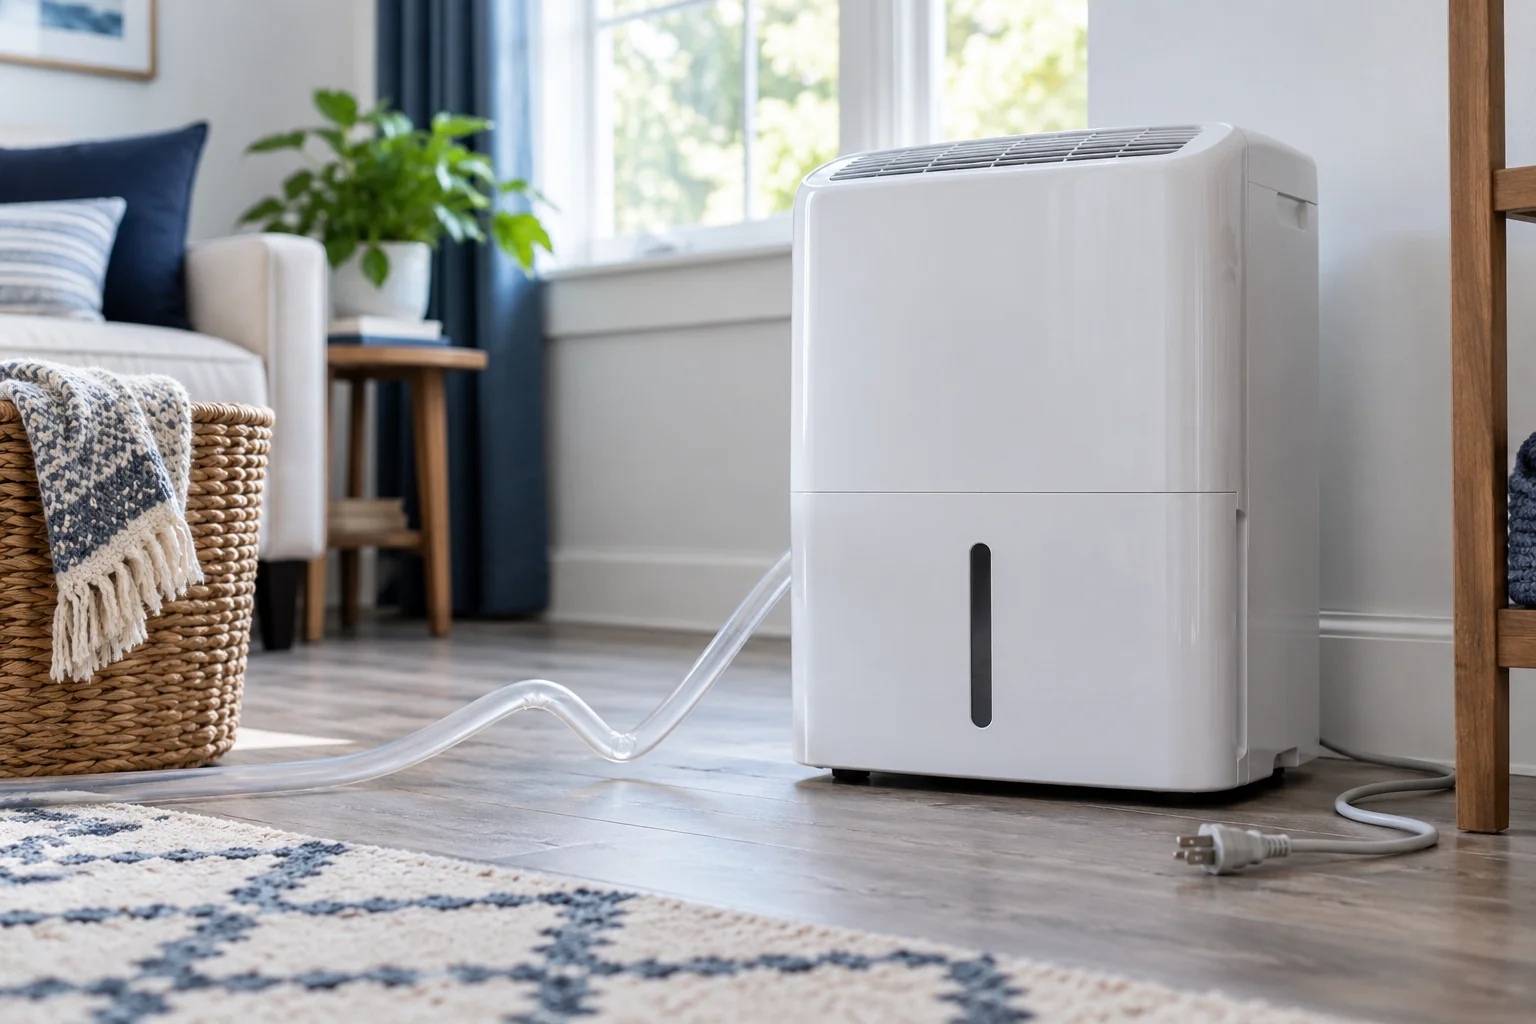
For gravity drainage, verify a continuously descending route as the manual requires. A loop or raised outlet can retain water. For pumped drainage, compare the lift and hose length with the model’s limits.
Check accessible hose sections for kinks, obstruction and a submerged or blocked outlet. Use the specified hose size and connection rather than improvised fittings.
Related check: Where Should You Put a Dehumidifier? →
03Test without leaving a leak unattended
After reconnecting as instructed, observe the first drainage cycle and inspect each joint. Protect the surrounding area and stop operation if water leaks. Do not discharge into an unapproved location or create a plumbing connection without checking local requirements.
A tank that fills despite a hose can reflect setup, model behavior or a fault. Use the manual to interpret it rather than disabling the bucket sensor.
04Keep a maintenance record
Record the hose route and inspection date. Recheck after moving storage, servicing the appliance or changing the discharge arrangement. A once-working hose can become kinked or displaced.
If the pump reports an error or drainage remains unreliable, use manufacturer support or qualified service. A larger-capacity appliance will not fix a faulty drain path.
Sources & editorial method
The linked references support the underlying principles. The observation sequence and examples are original editorial guidance, not an inspection, product test or installation specification.
AI-assisted editorial content based on the linked references. Read our methods and review limitations.