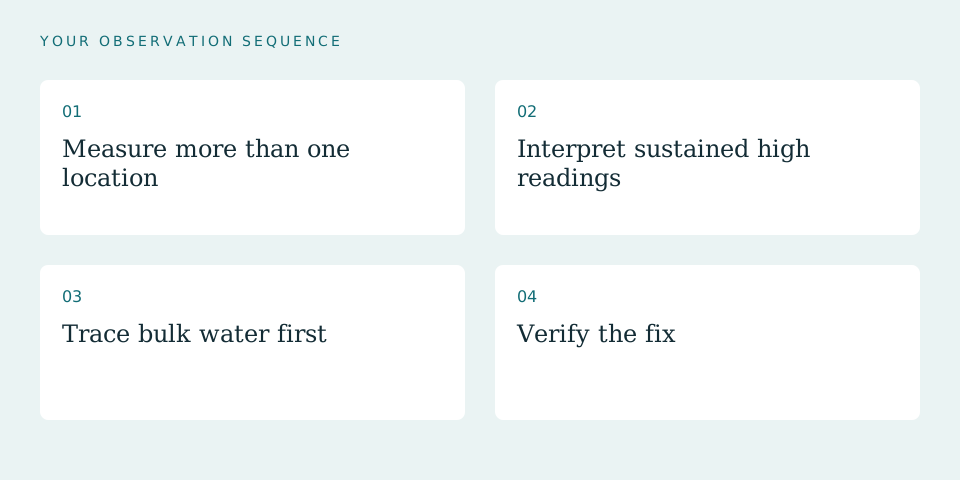
01Measure more than one location
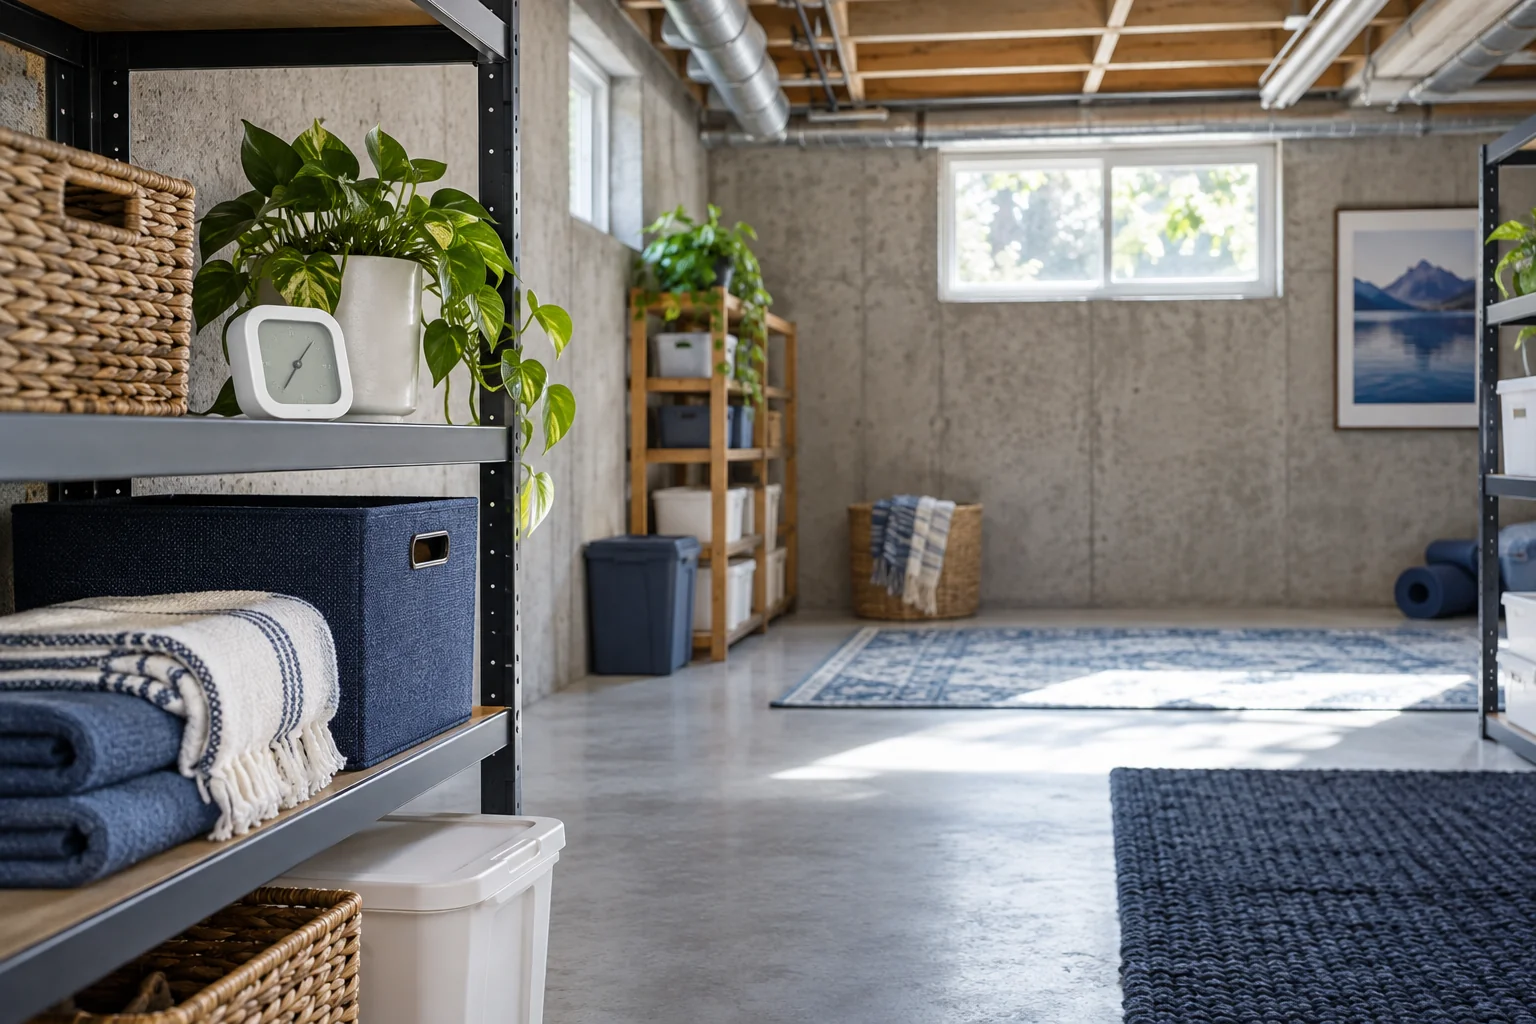
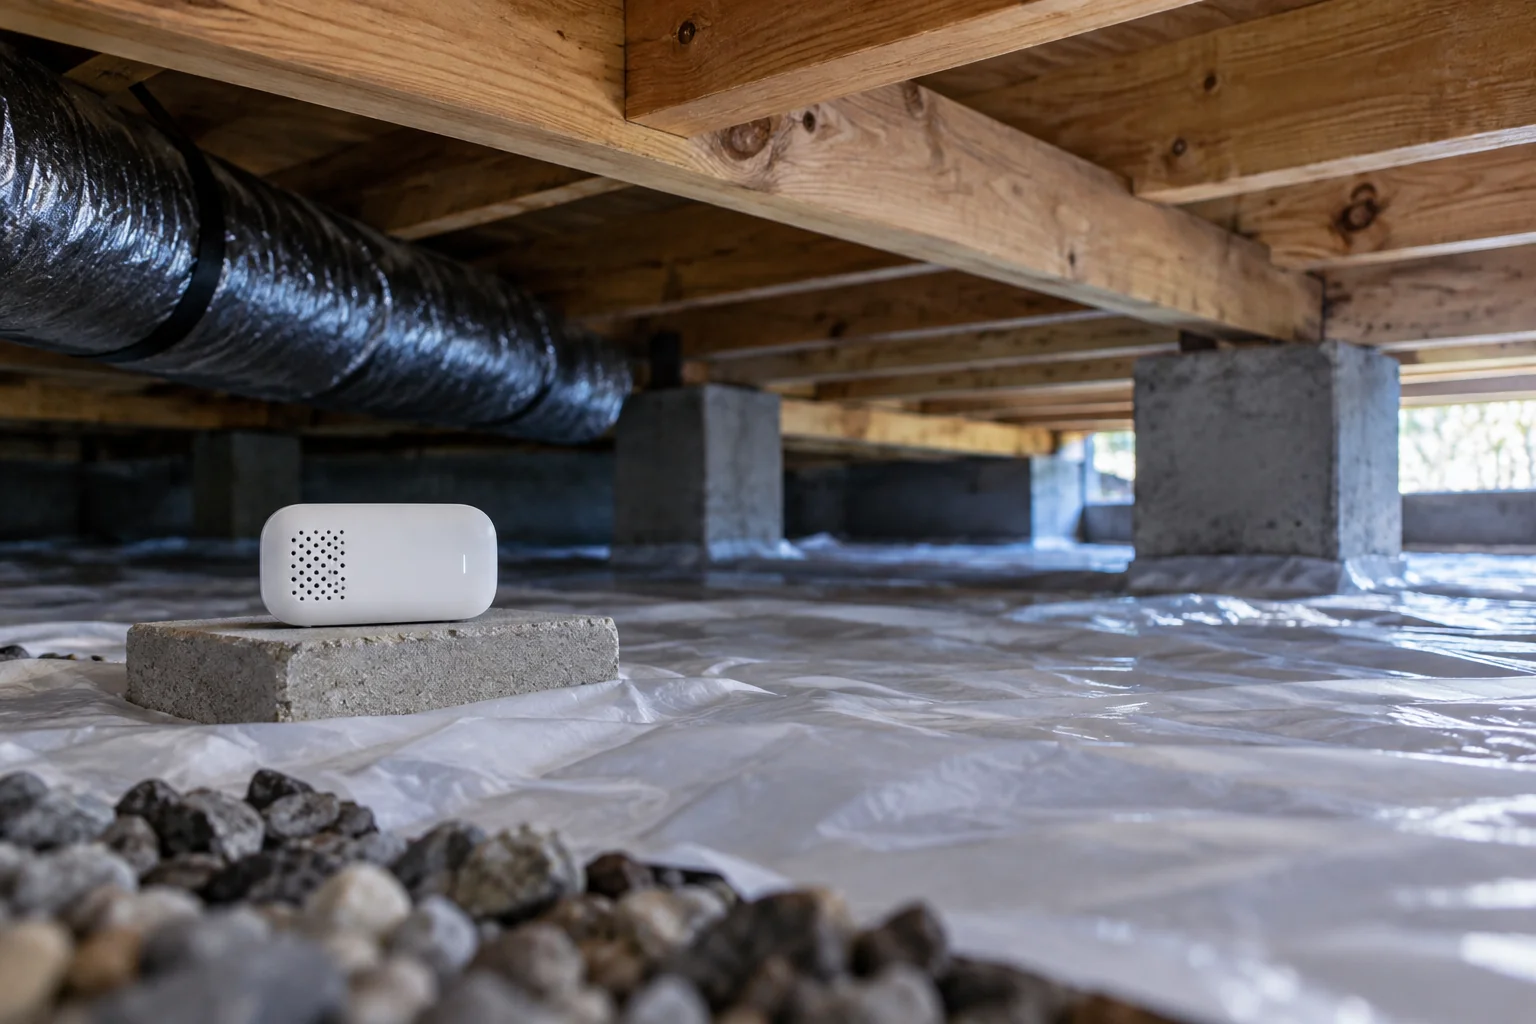
Use sensors intended for the conditions and place them where they will not contact soil, standing water, or condensation. Compare the center with a location near an access door or known damp area. A sensor beside a dehumidifier can make the whole space appear drier than it is.
Check readings over several days and through a weather change. Record temperature as well as relative humidity.
02Interpret sustained high readings
EPA recommends indoor relative humidity below 60 percent and ideally 30 to 50 percent when practical. A crawl space that remains above that level deserves investigation, especially with condensation, musty odor, wet insulation, or damp wood.
Humidity alone does not establish whether wood is safe or whether mold is present. A qualified inspector can take material-specific measurements when the structure is uncertain.
Related check: Crawl Space Damp After Rain: What to Check First →
03Trace bulk water first
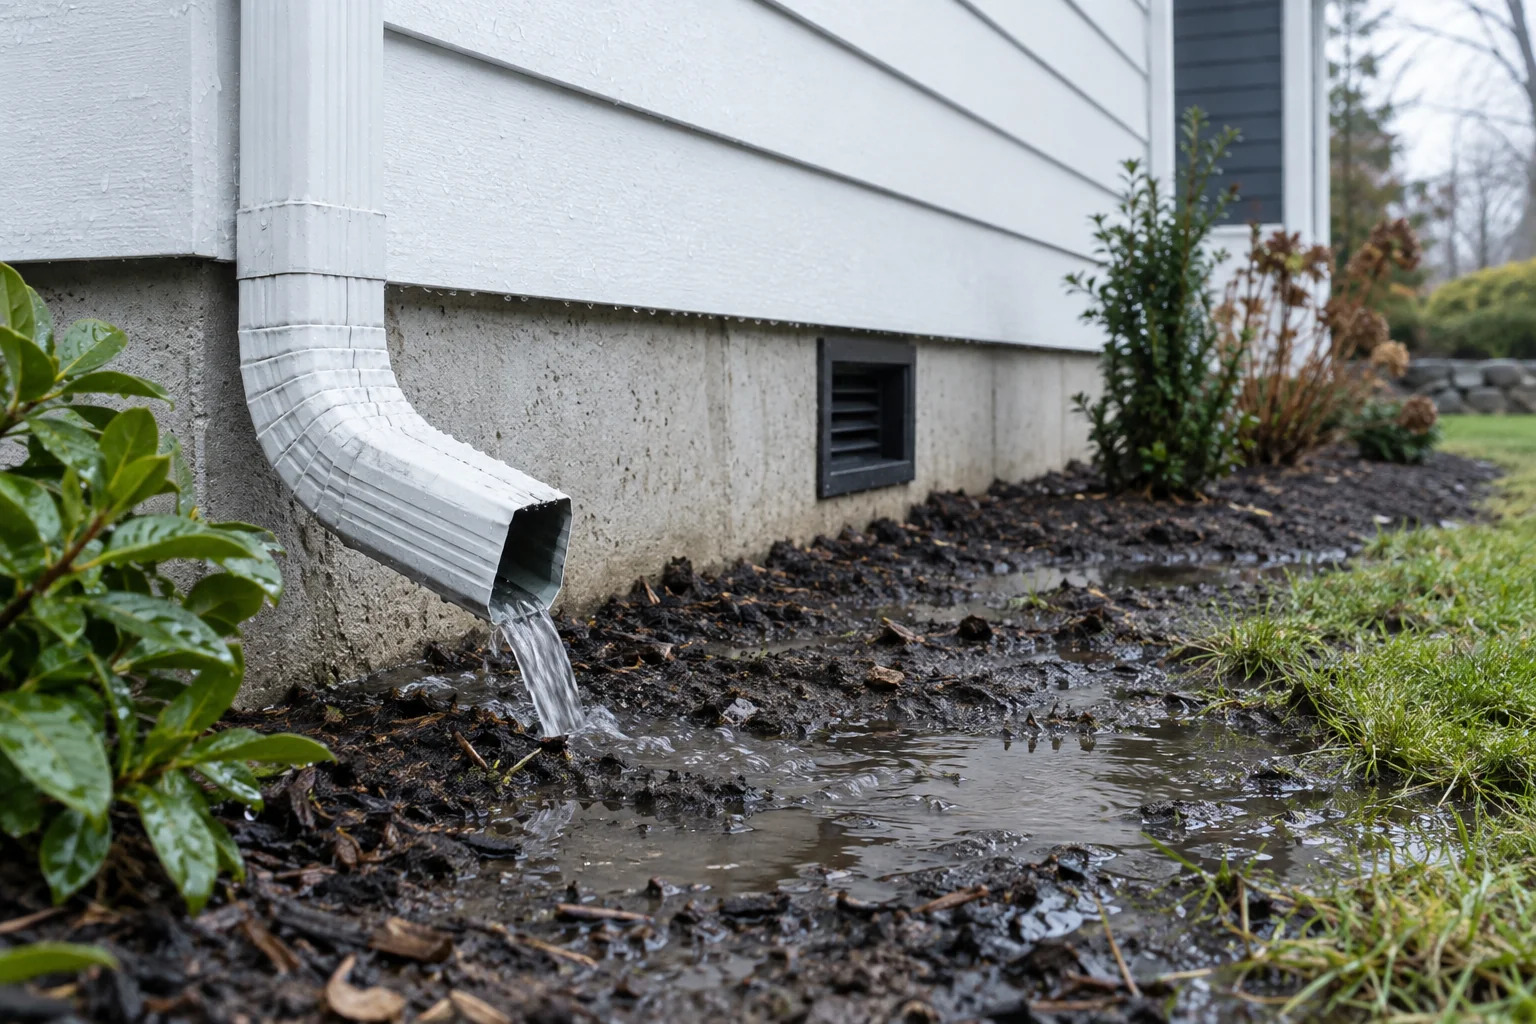
Look for plumbing leaks, poor grading, short downspout discharge, damaged drains, groundwater entry, and exposed soil. A vapor barrier or dehumidifier cannot compensate for water continuously entering from a failed pipe or drainage problem.
Do not enter a crawl space that is unsafe, flooded, structurally compromised, or difficult to exit.
04Verify the fix
After correcting the source, log readings in the same locations for at least a week. Note rainfall and equipment runtime. Improvement should be visible across the space and persist when weather changes.
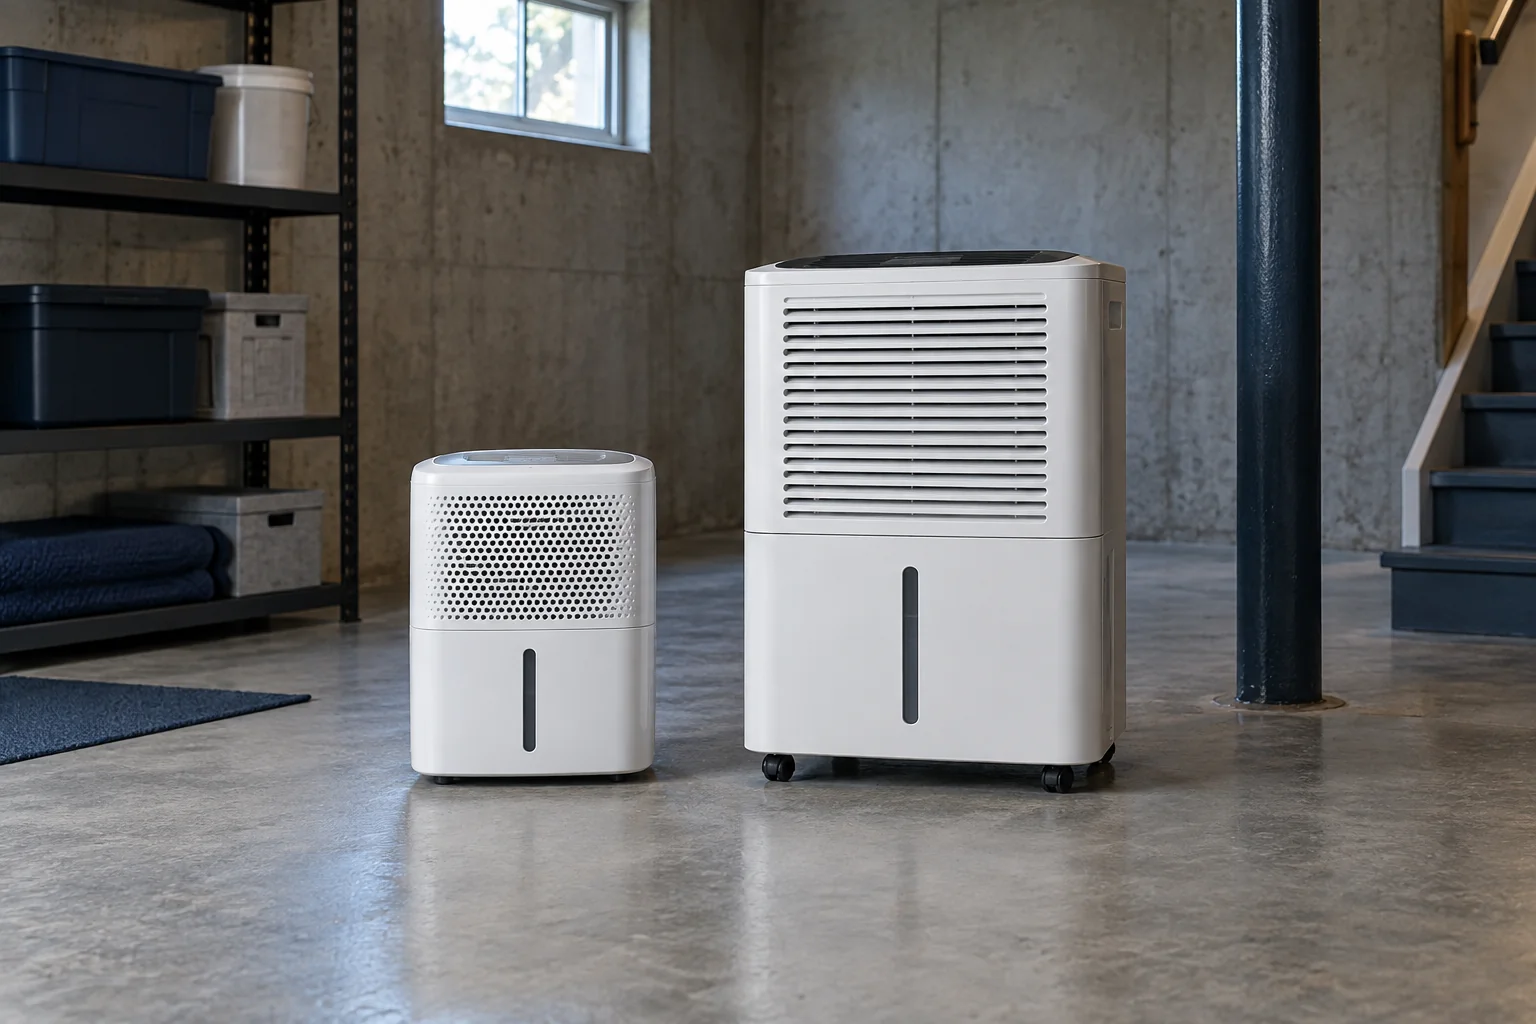
If a dehumidifier is part of the plan, provide drainage and electrical installation exactly as required by the manufacturer and local rules.
Sources & editorial method
This guide uses public moisture-control principles. It is not a substitute for an on-site structural, electrical, or mold assessment.
AI-assisted editorial content based on the linked references. Read our methods and review limitations.