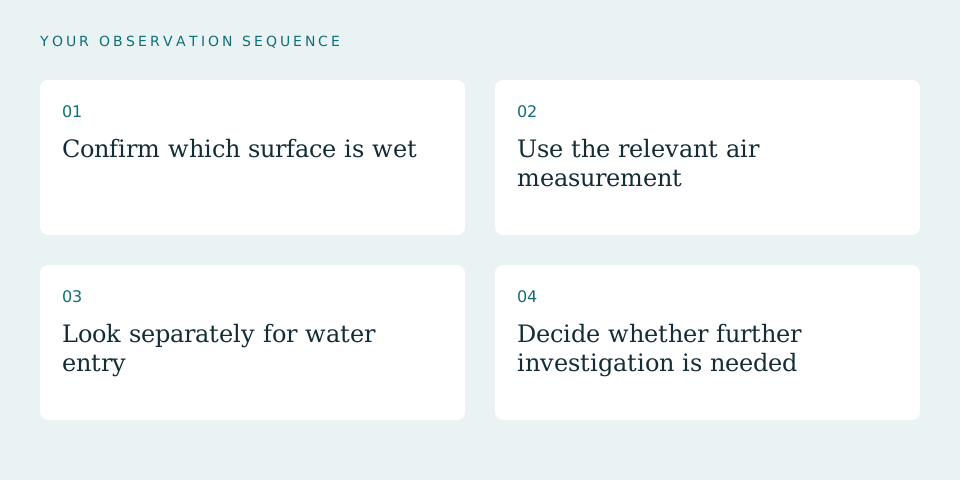
01Confirm which surface is wet
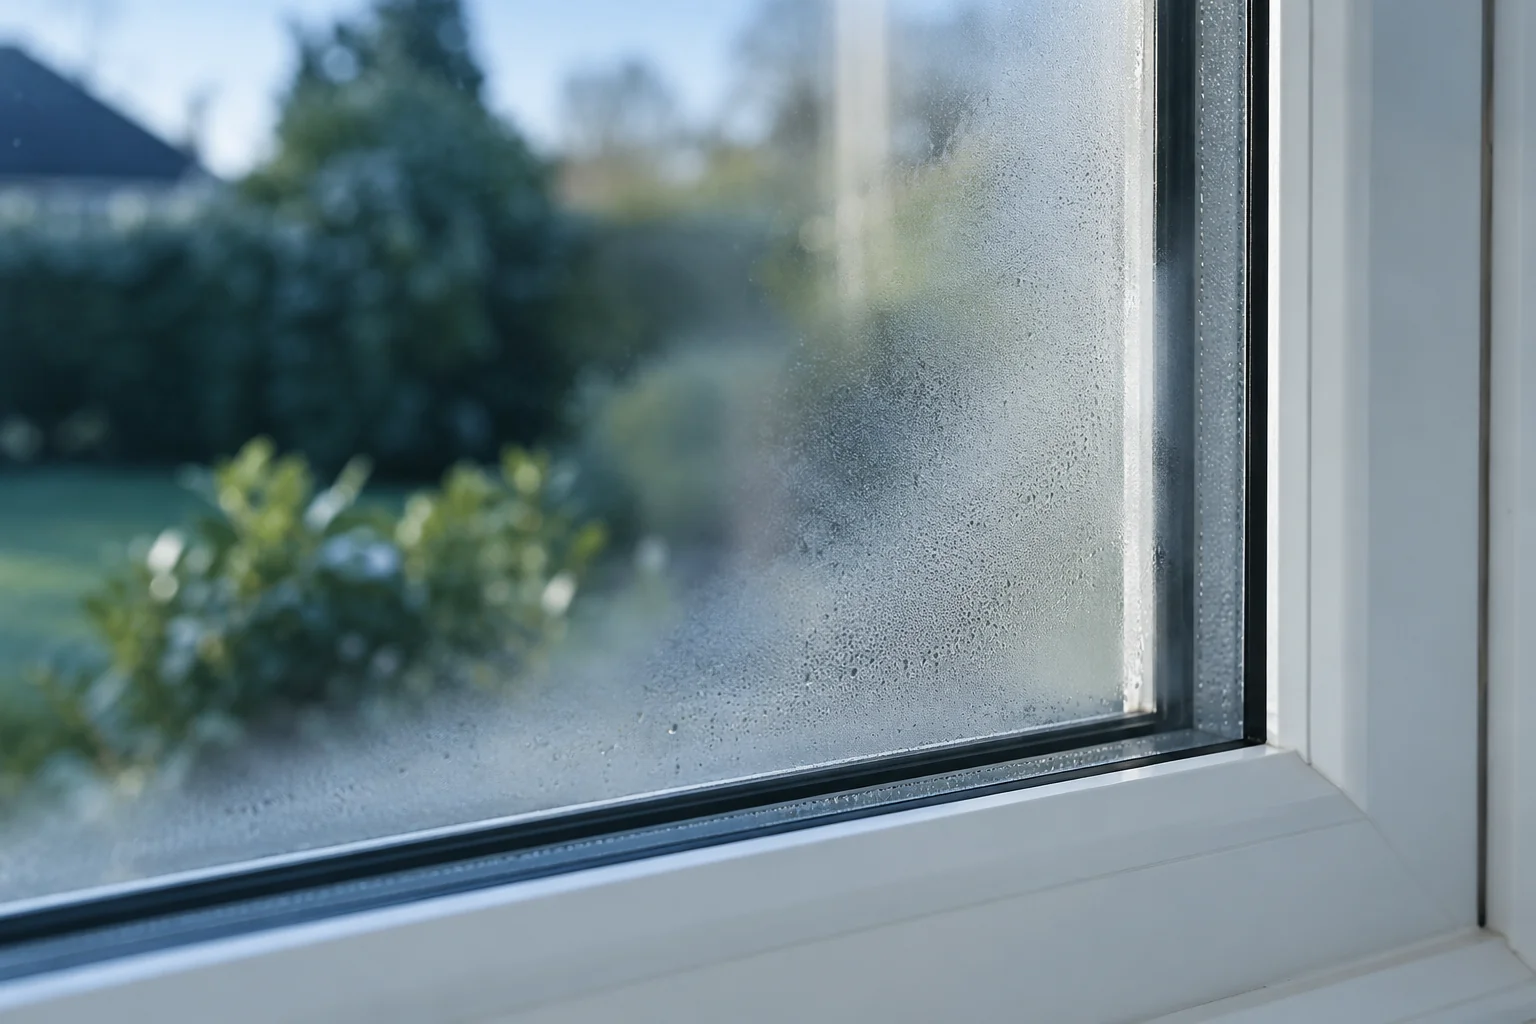
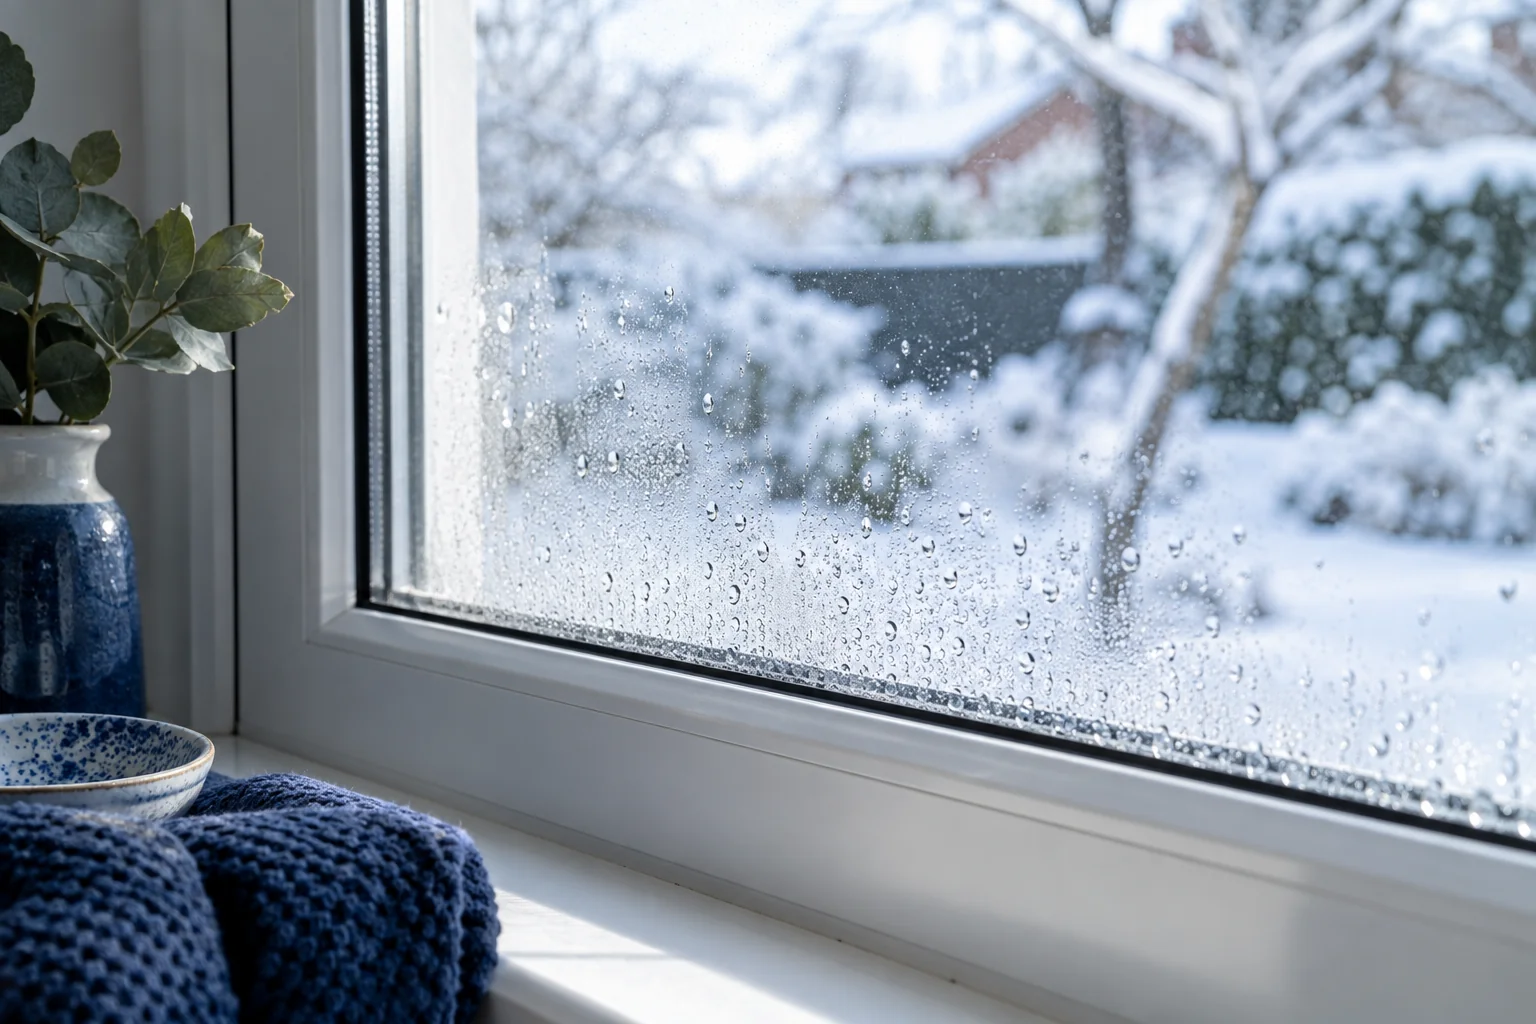
Check accessible surfaces safely and note whether wiping inside changes the appearance. If moisture is trapped within glazing or cannot be located, use the separate guide to locating window condensation.
Record whether the pattern is strongest early in the morning and changes later. A sequence of photographs is more useful than one close-up.
02Use the relevant air measurement
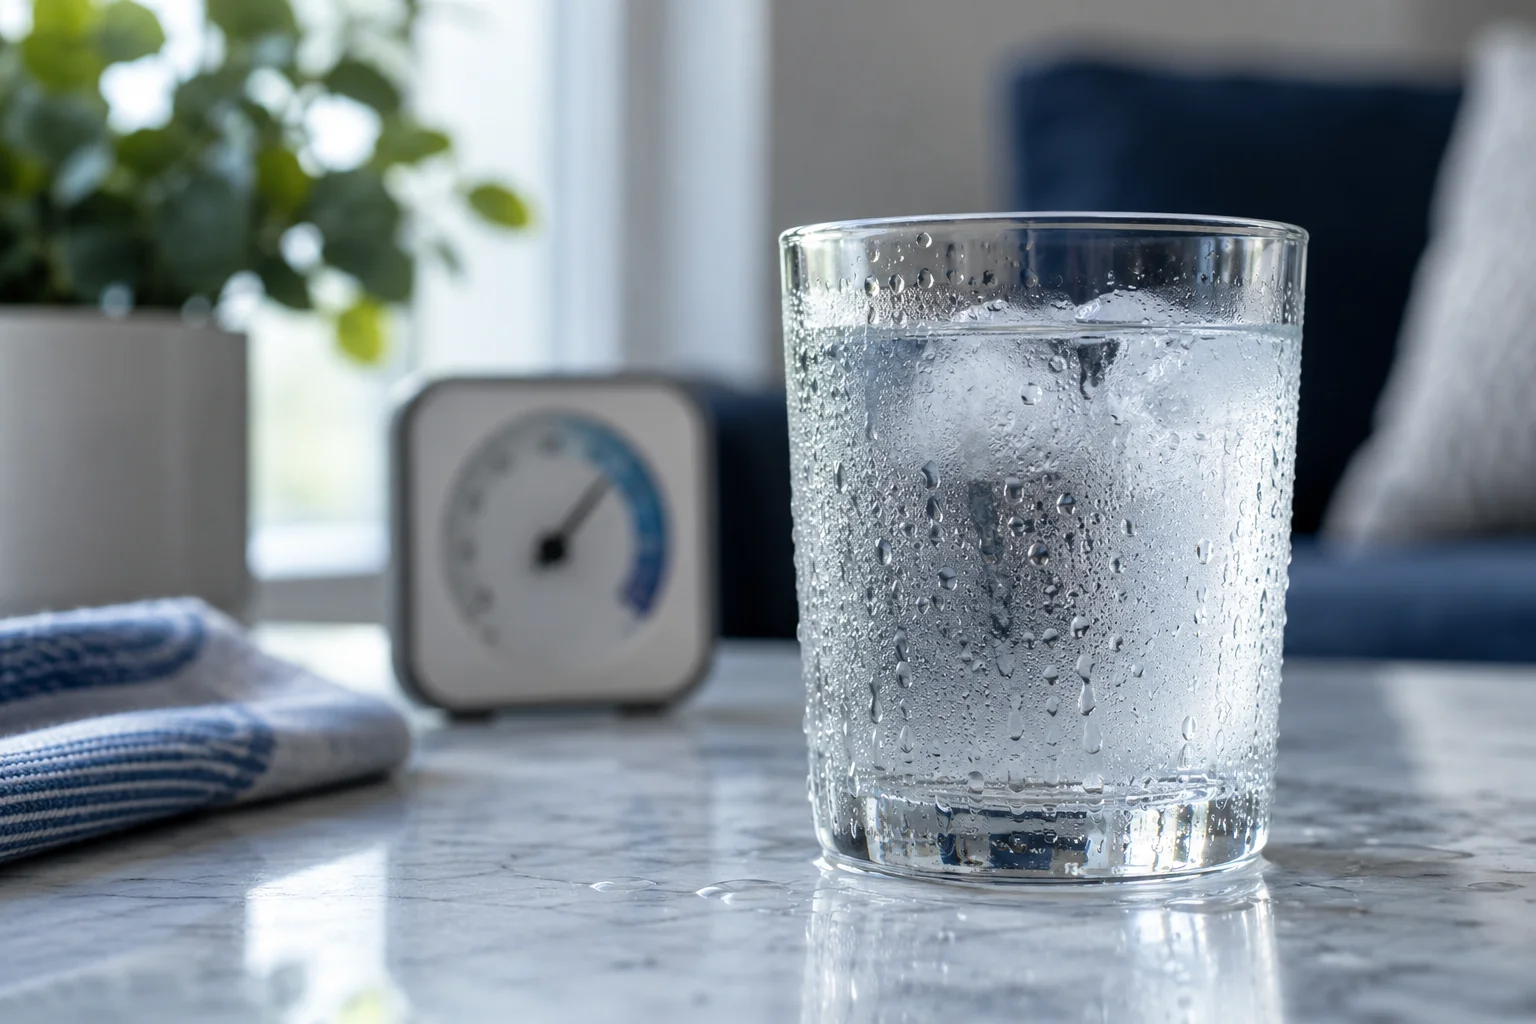
Outdoor-facing glass interacts with outdoor air. A basement sensor cannot supply the dew point of that air. If you calculate a comparison, use outdoor temperature and RH near the time of the event, recognizing that a weather station may not represent the window exactly.
Glass temperature can differ from the reported air temperature. Without a reliable surface measurement, treat the mechanism as plausible rather than numerically confirmed.
Related check: Is Window Condensation Inside, Outside or Between the Panes? →
03Look separately for water entry
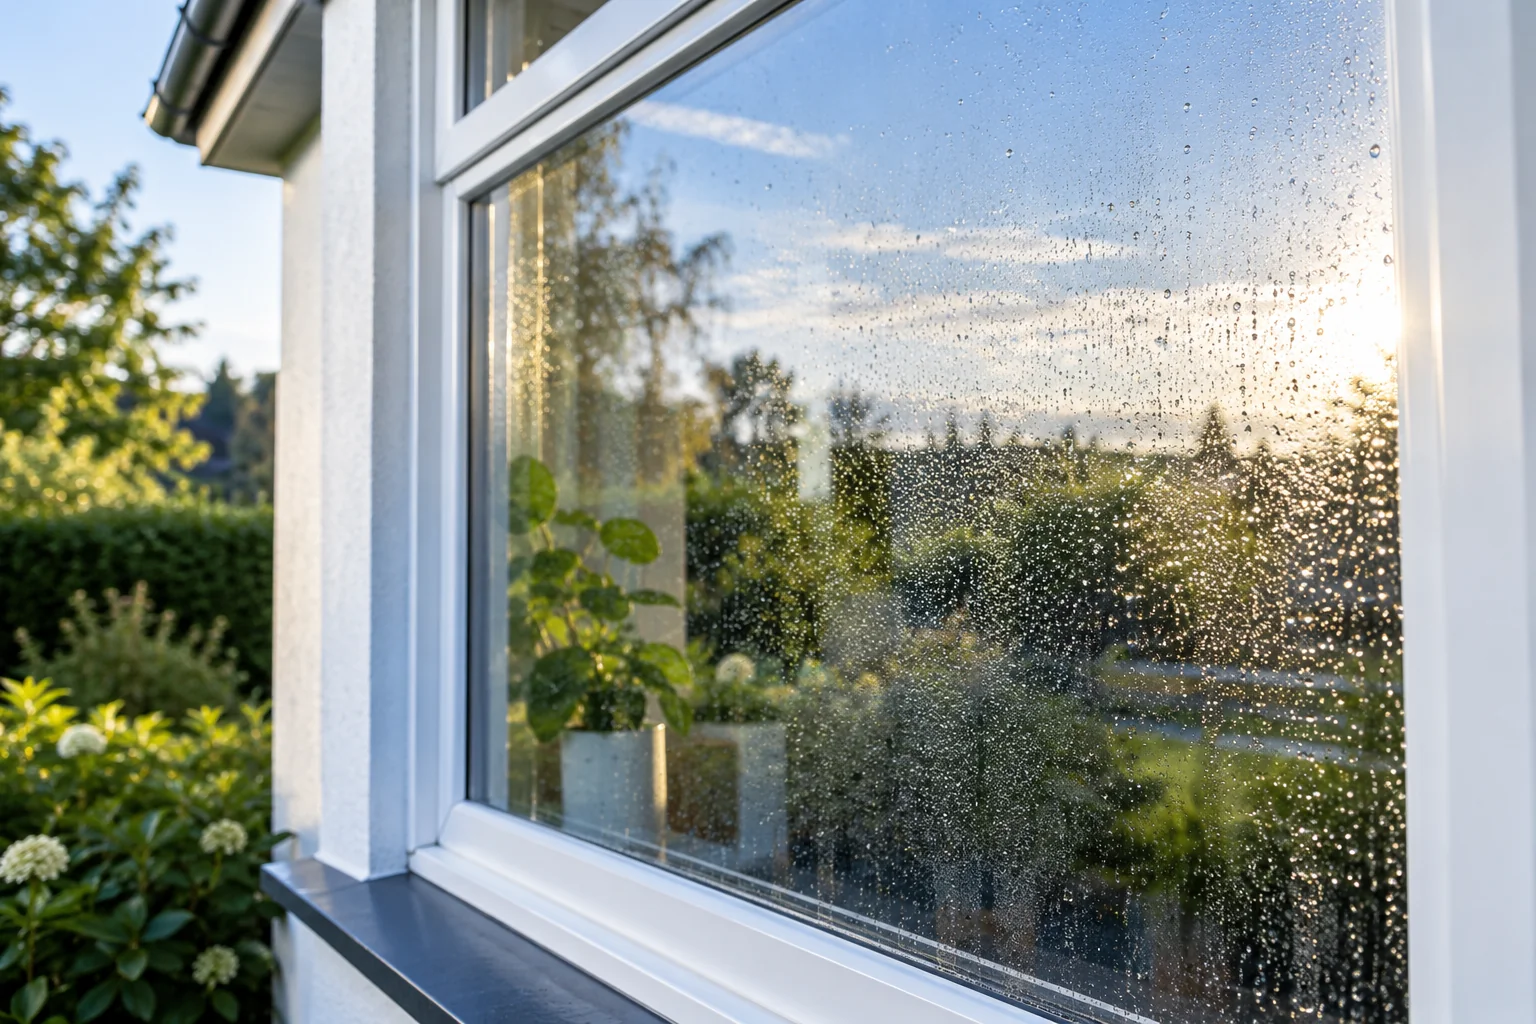
Exterior droplets are different from water crossing the frame or wetting an interior wall. Inspect indoor trim and nearby finishes for recurring wetness, especially after rain. Do not explain those signs away merely because dew is present outside.
Avoid drilling frames or blocking drainage openings. Window drainage details are product-specific and should be assessed using the manufacturer’s instructions.
04Decide whether further investigation is needed
A repeatable outdoor-only pattern that clears as conditions change is a different concern from persistent trapped fog or indoor damage. Document changes if the pattern is new or difficult to locate.
For suspected leakage or glazing defects, give a window professional photographs showing both the whole opening and the close-up. This helps keep the investigation focused on the correct component.
Sources & editorial method
The linked references support the underlying principles. The observation sequence and examples are original editorial guidance, not an inspection, product test or installation specification.
AI-assisted editorial content based on the linked references. Read our methods and review limitations.